Getting started with Tarantool Cluster Manager
Example on GitHub: tcm_get_started
In this tutorial, you get TCM up and running on your local system, deploy a local Tarantool EE cluster, and learn to manage the cluster from the TCM web UI.
To complete this tutorial, you need:
- A Linux machine with glibc 2.17 or later.
- A web browser: Chromium-based (Chromium version 108 or later), Mozilla Firefox 101 or later, or another up-to-date browser.
- The Tarantool Enterprise Edition SDK 3.0 or later in the
tar.gzarchive. See tarantool_installation for information about getting the archive.
For more detailed information about using TCM, refer to TCM.
-
Extract the Tarantool EE SDK archive:
$ tar -xvzf tarantool-enterprise-sdk-gc64-<VERSION>-<HASH>-r<REVISION>.linux.x86_64.tar.gzThis creates the
tarantool-enterprisedirectory beside the archive. The directory contains three executables for key Tarantool EE components:tarantool– Tarantool Enterprise Edition.tt– the tt command-line utility.tcm– Tarantool Cluster Manager.
-
Add the Tarantool EE components to the executable path by executing the
env.shscript included in the distribution:$ source tarantool-enterprise/env.sh -
To check that the Tarantool EE executables
tarantool,tt, andtcmare available in the system, print their versions:$ tarantool --versionTarantool Enterprise 3.0.0-0-gf58f7d82a-r23-gc64Target: Linux-x86_64-RelWithDebInfoBuild options: cmake . -DCMAKE_INSTALL_PREFIX=/home/centos/release/sdk/tarantool/static-build/tarantool-prefix -DENABLE_BACKTRACE=TRUECompiler: GNU-9.3.1C_FLAGS: -fexceptions -funwind-tables -fasynchronous-unwind-tables -static-libstdc++ -fno-common -msse2 -fmacro-prefix-map=/home/centos/release/sdk/tarantool=. -std=c11 -Wall -Wextra -Wno-gnu-alignof-expression -fno-gnu89-inline -Wno-cast-function-type -O2 -g -DNDEBUG -ggdb -O2CXX_FLAGS: -fexceptions -funwind-tables -fasynchronous-unwind-tables -static-libstdc++ -fno-common -msse2 -fmacro-prefix-map=/home/centos/release/sdk/tarantool=. -std=c++11 -Wall -Wextra -Wno-invalid-offsetof -Wno-gnu-alignof-expression -Wno-cast-function-type -O2 -g -DNDEBUG -ggdb -O2$ tt versionTarantool CLI EE 2.1.0, linux/amd64. commit: d80c2e3$ tcm version1.0.0-0-gd38b12c2
Тarantool Cluster Manager is ready to run out of the box. To start TCM run the following command:
$ tcm --storage.etcd.embed.enabled
The
–storage.etcd.embed.enabled
option makes TCM start its own instance of etcd on
bootstrap. This etcd instance is used for storing the
TCM configuration.
- Open a web browser and go to
http://127.0.0.1:8080/. - Enter the username and the password you got from the TCM bootstrap log in the previous step.
- Click Log in.
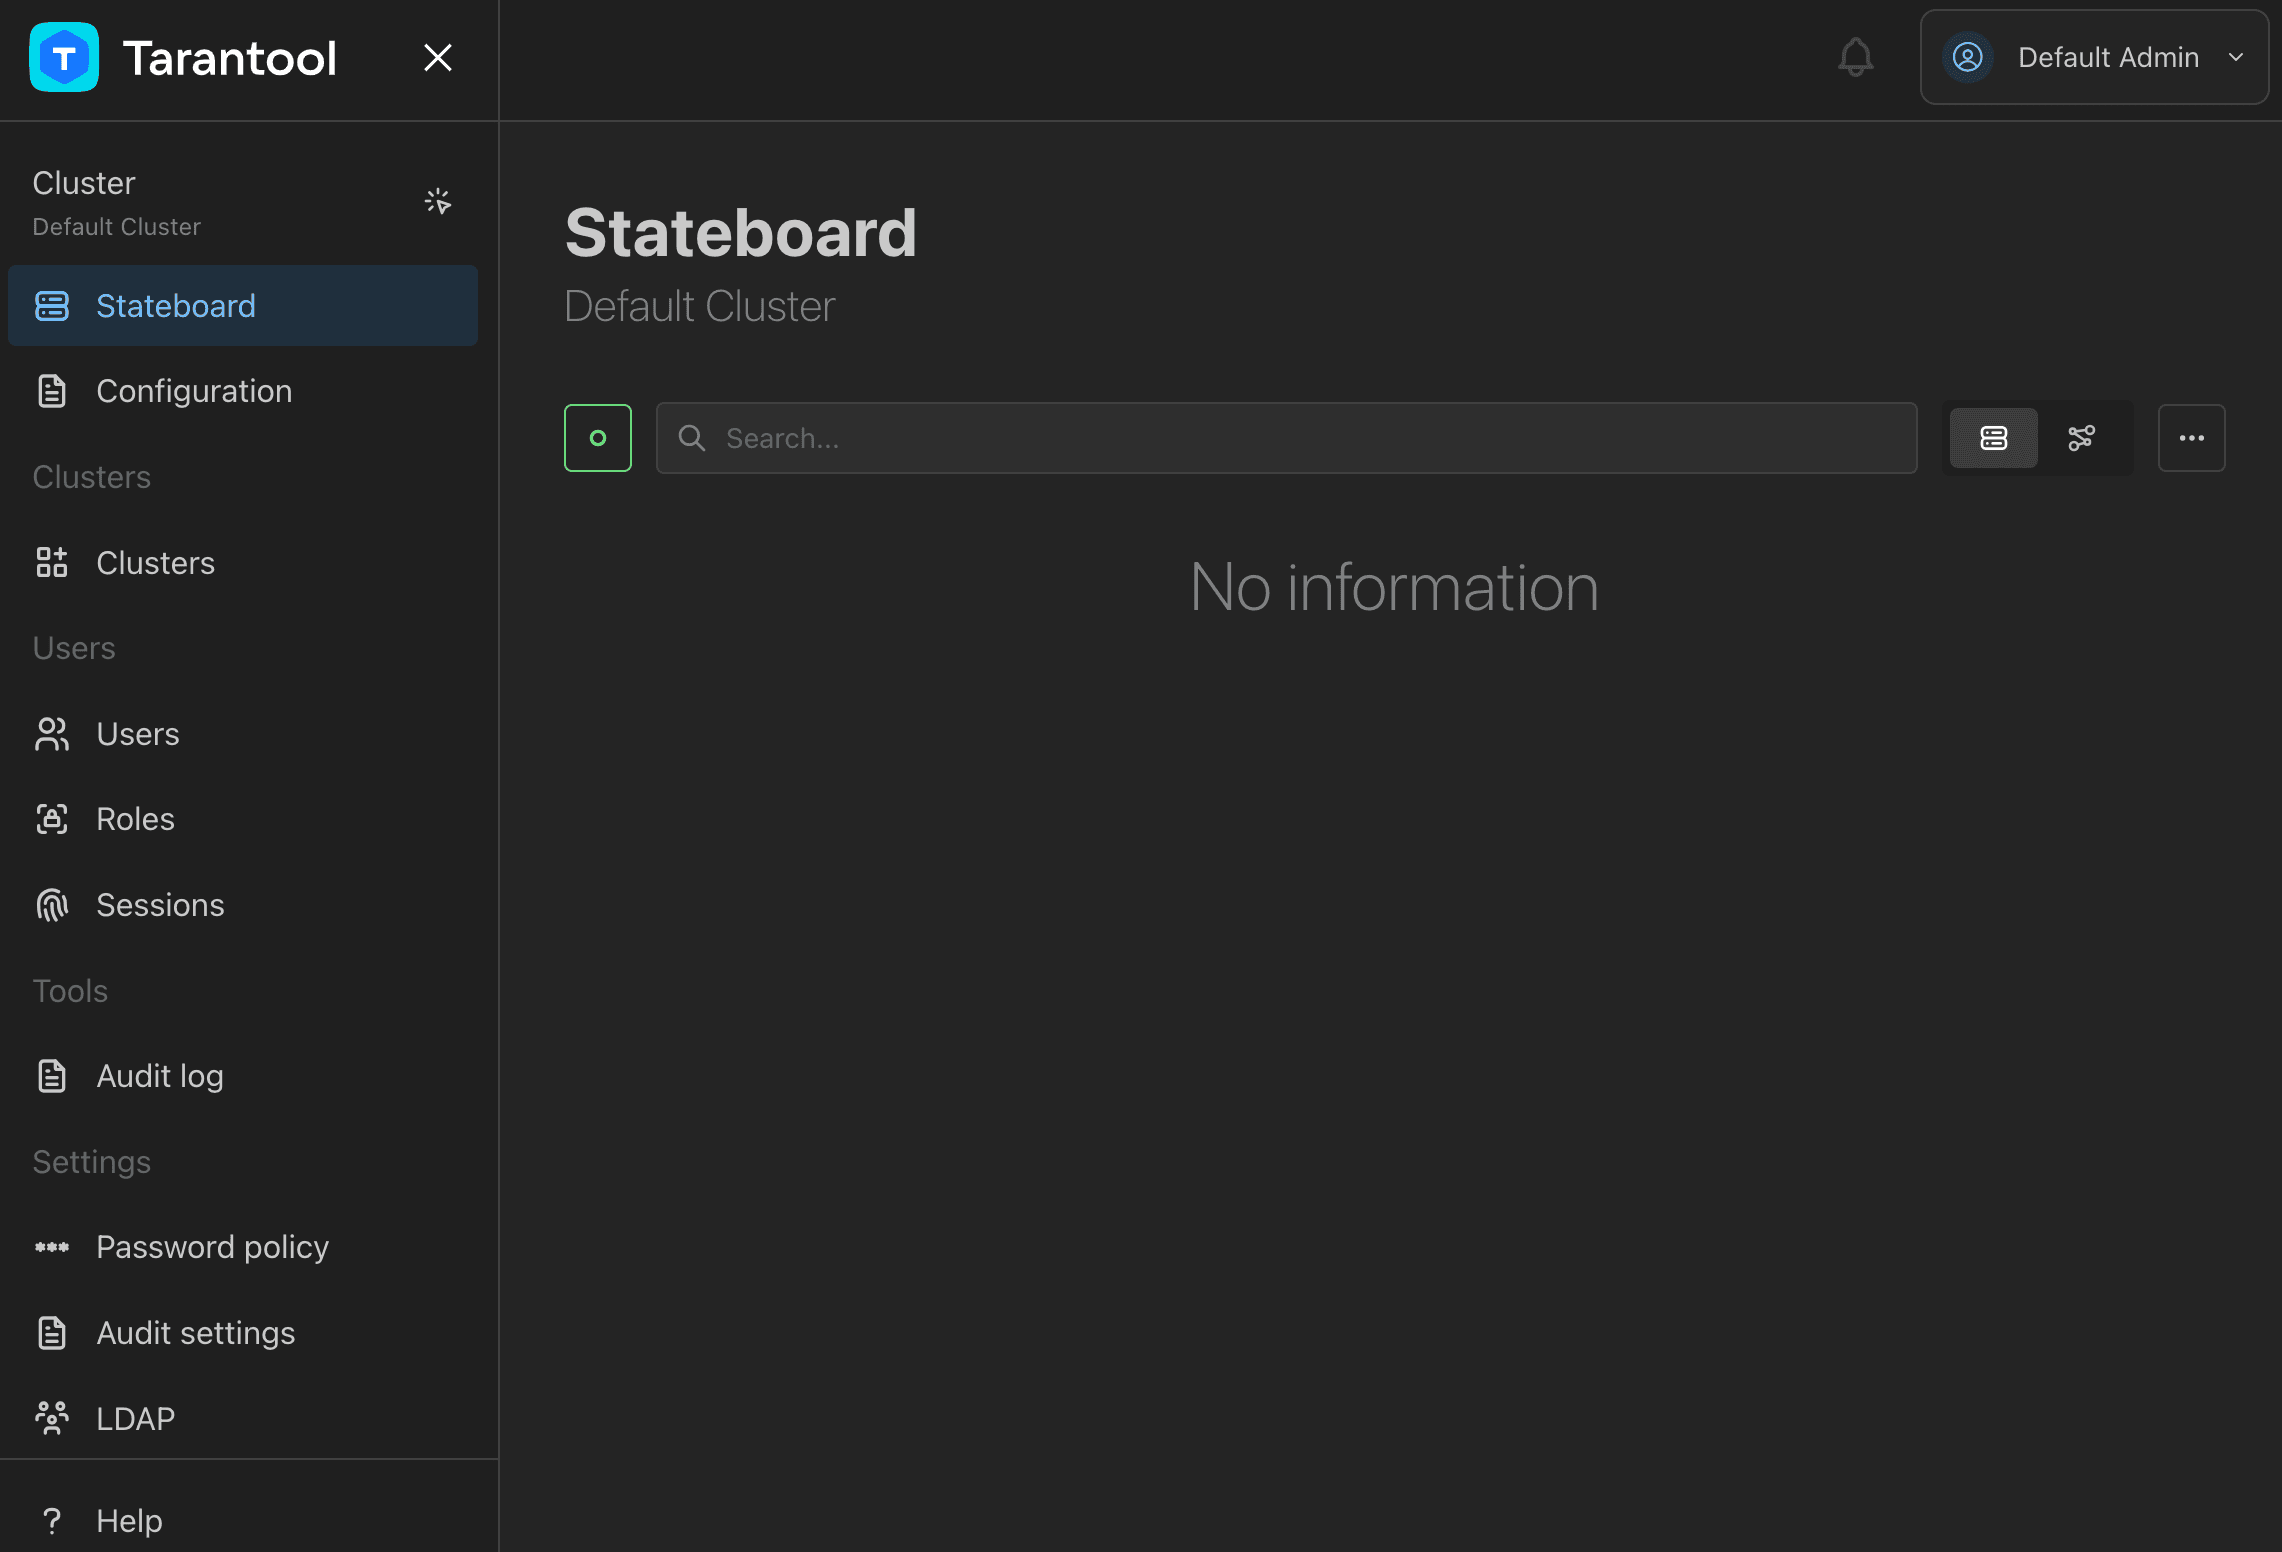
After a successful login, you see the TCM web UI:
To prepare a Tarantool EE cluster, complete the following steps:
- Define the cluster connection settings in TCM.
- Configure the cluster in TCM.
- Start the cluster instances locally using the tt utility.
A freshly installed TCM has a predefined cluster named Default cluster. It doesn't have any configuration or topology out of the box. Its initial properties include the etcd and Tarantool connection parameters. Check these properties to find out where TCM sends the cluster configuration that you write.
To view the Default cluster's properties:
-
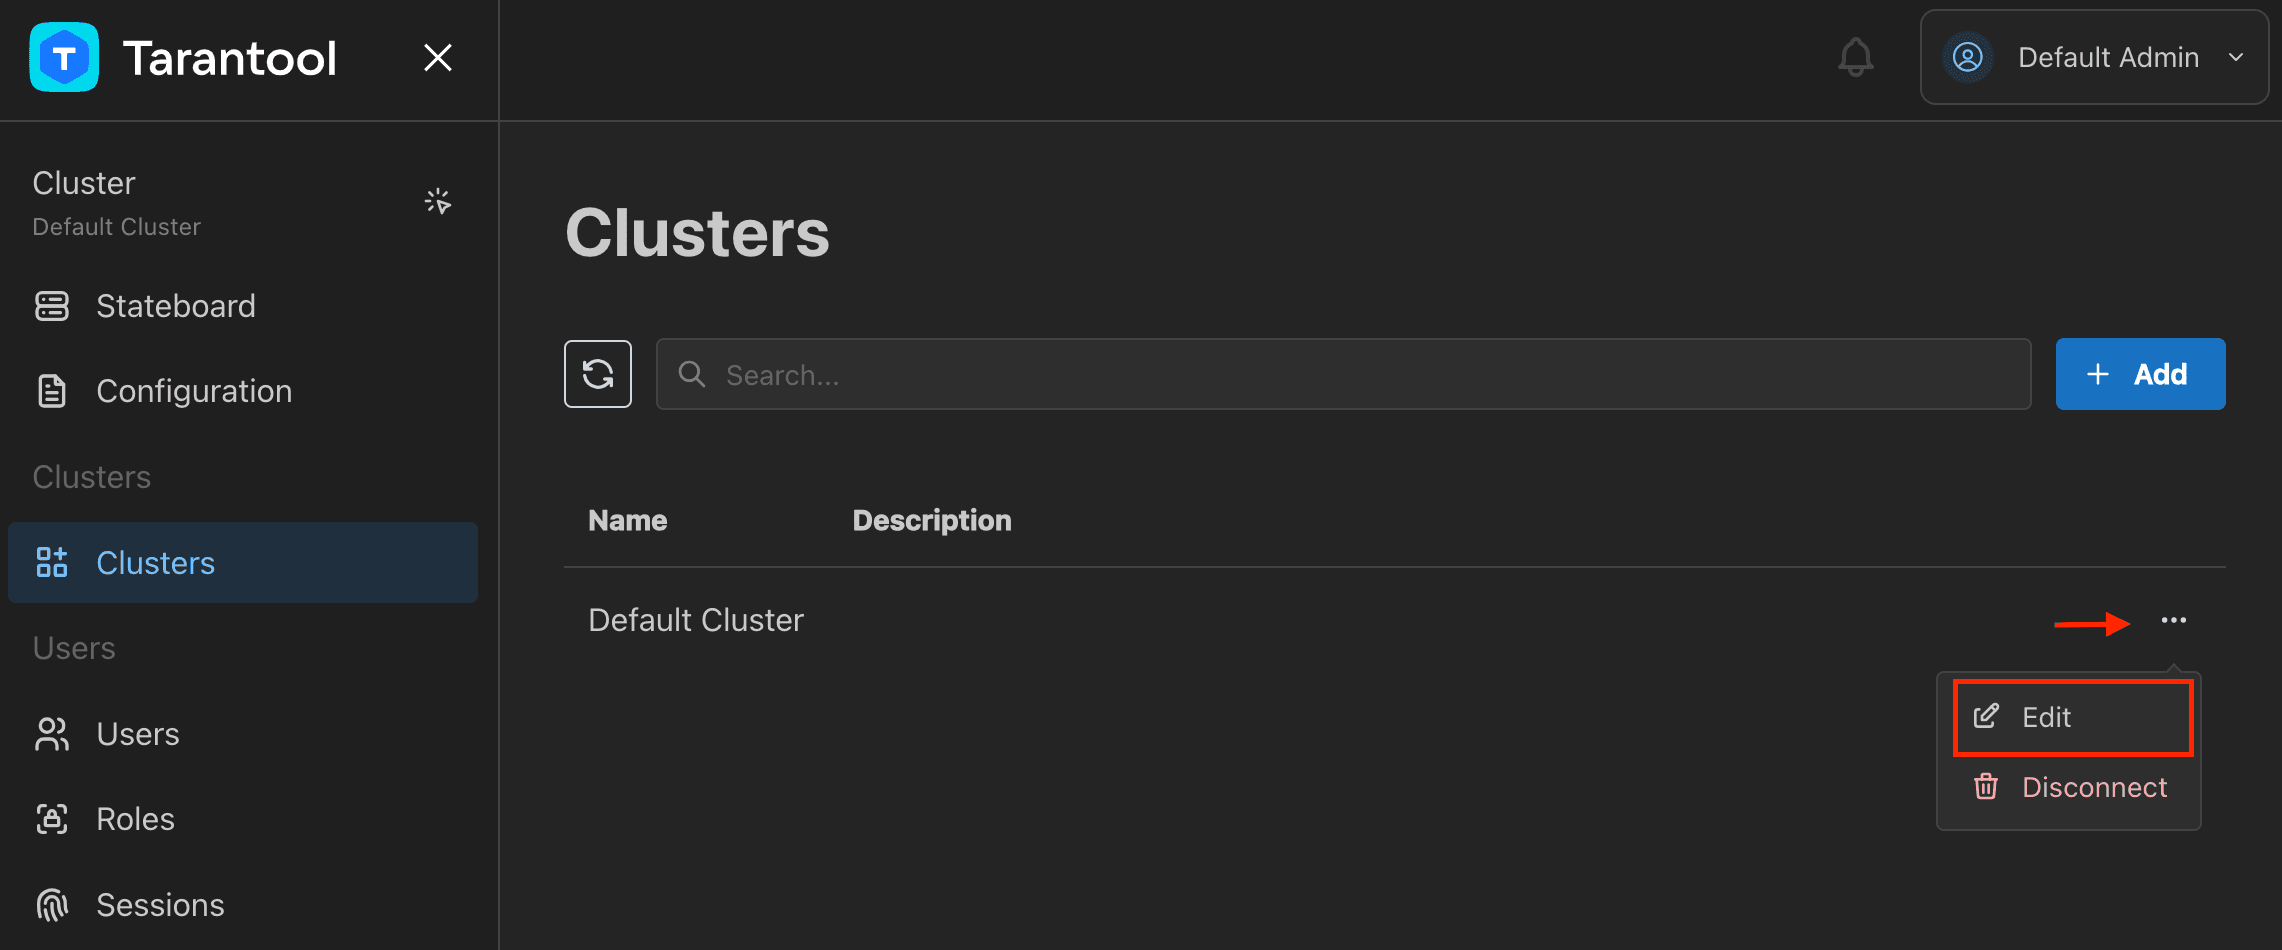
Go to Clusters and click Edit in the Actions menu opposite the cluster name.
-
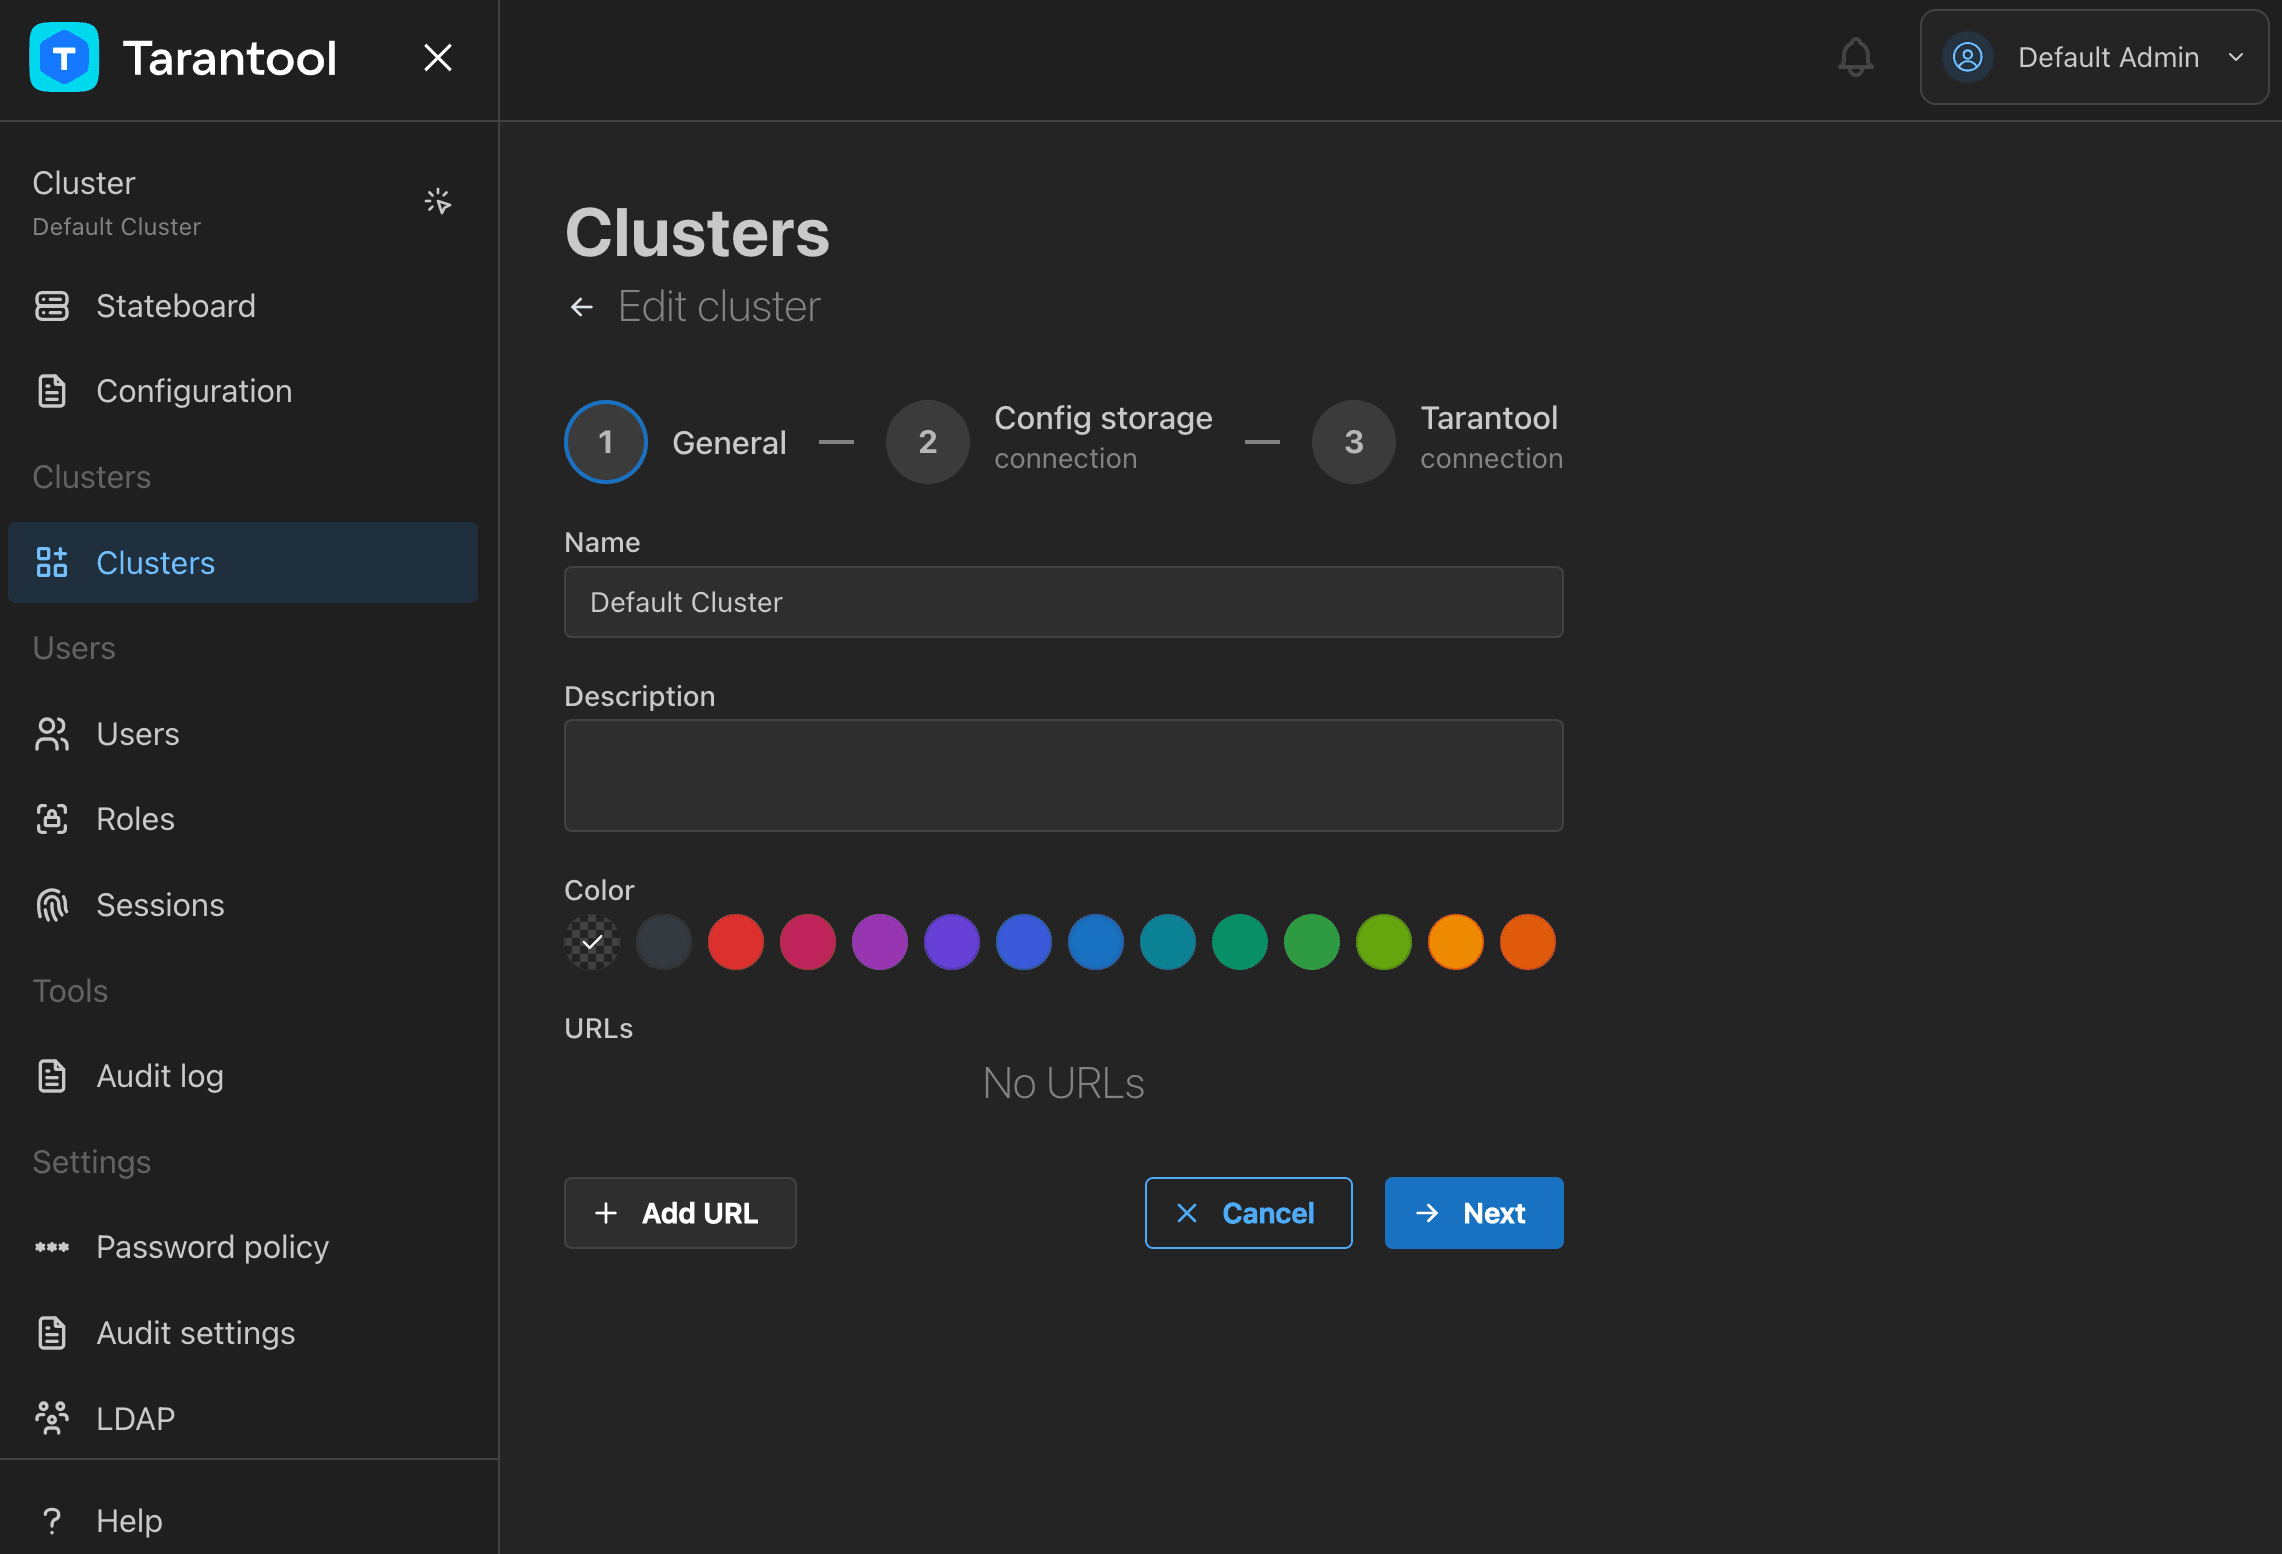
Click Next on the General tab.
-
Find the connection properties of the configuration storage that the cluster uses. By default, it's an etcd running on port
2379(default etcd port) on the same host. The key prefix used for the cluster configuration is/default. Click Next.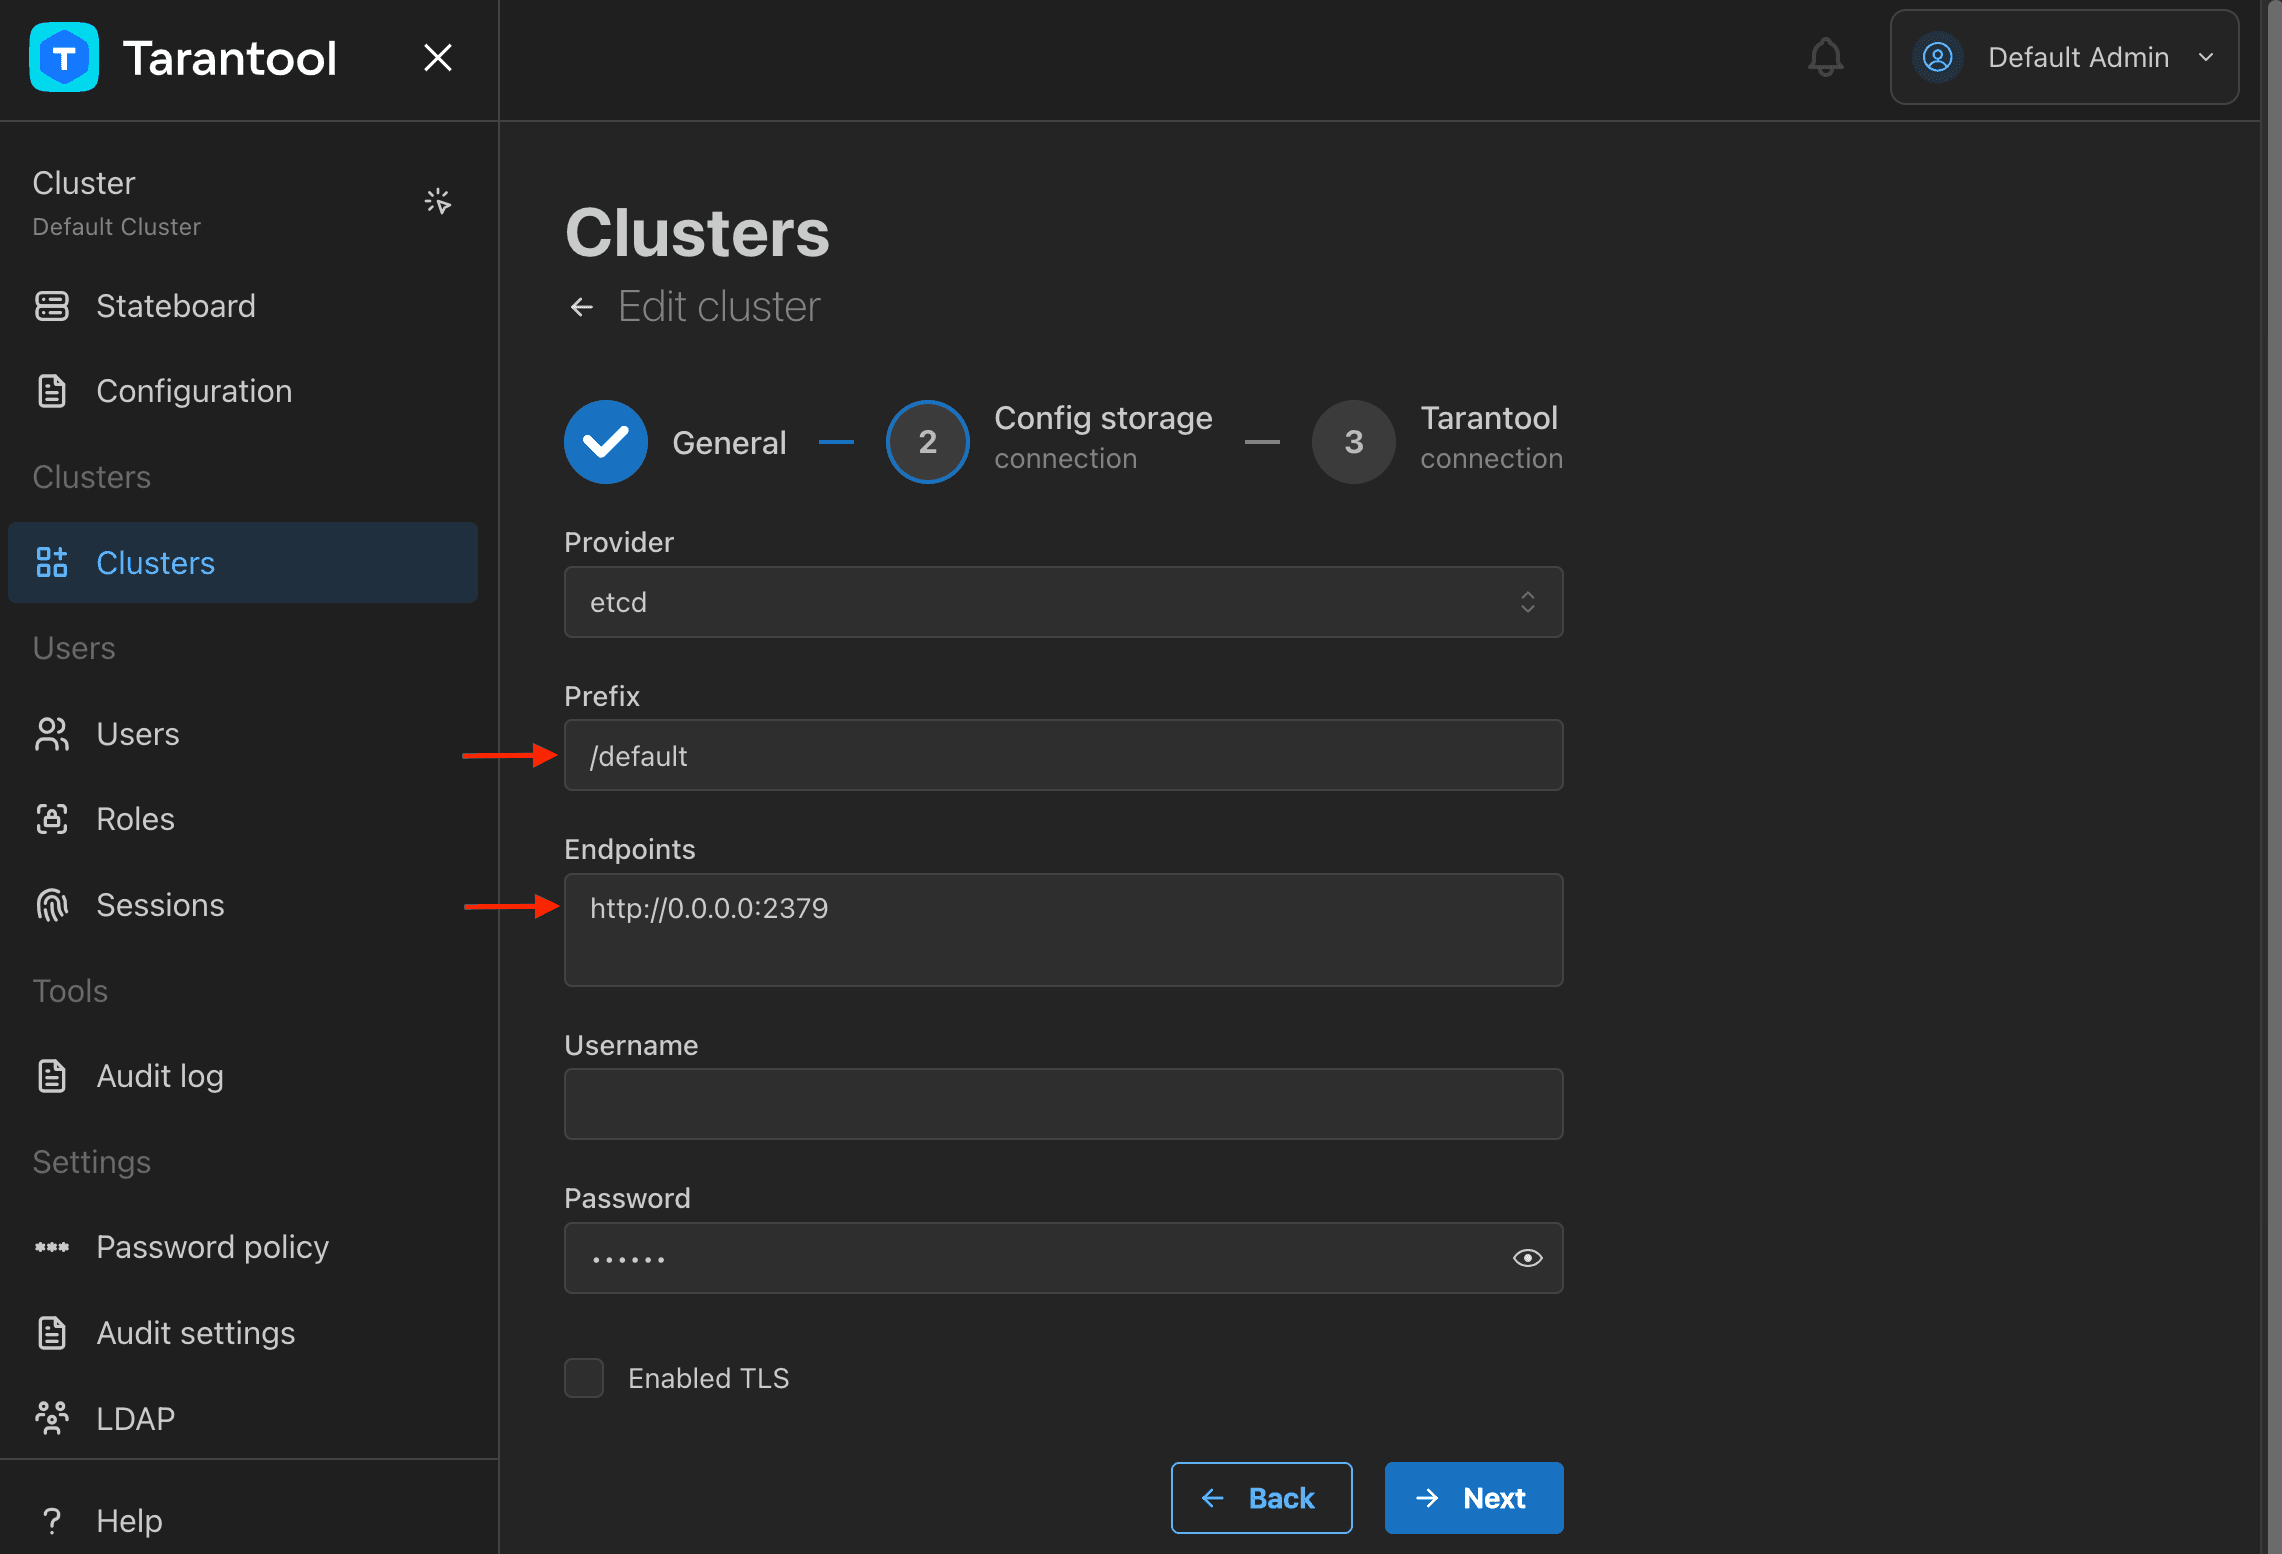
-
Check the Tarantool user that TCM uses to connect to the cluster instances. It's
guestby default.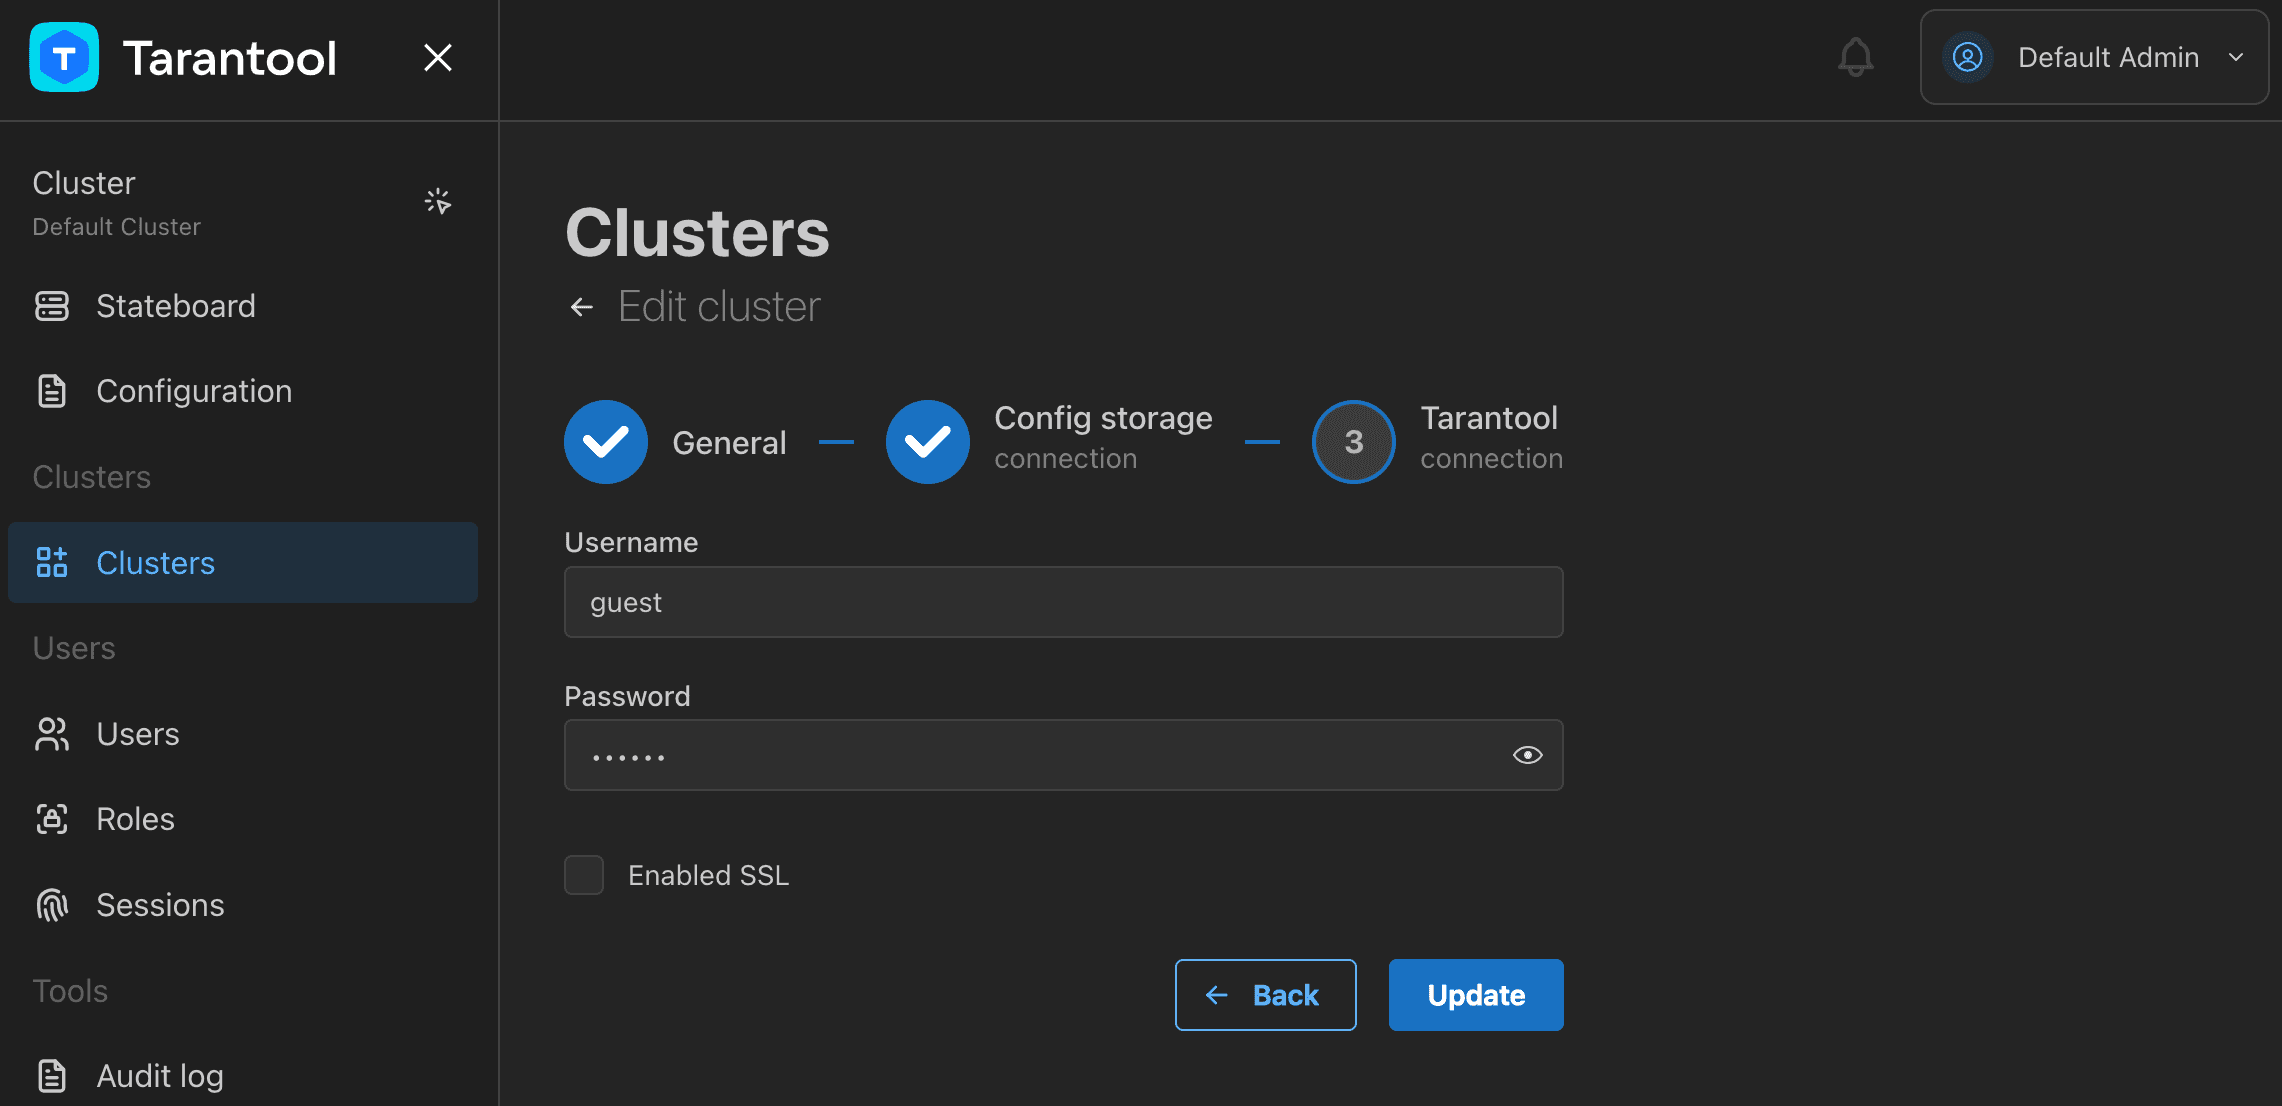
TCM provides a web-based editor for writing cluster configurations. It is connected to the configuration storage (etcd in this case): all changes you make in the browser are sent to etcd in one click.
To write the cluster configuration and upload it to the etcd storage:
-
Go to Configuration.
-
Click + and provide an arbitrary name for the configuration file, for example,
all. -
Paste the following YAML configuration into the editor:
credentials:users:guest:roles: [super]groups:group-001:replicasets:replicaset-001:replication:failover: manualleader: instance-001instances:instance-001:iproto:listen:- uri: '127.0.0.1:3301'advertise:client: '127.0.0.1:3301'instance-002:iproto:listen:- uri: '127.0.0.1:3302'advertise:client: '127.0.0.1:3302'instance-003:iproto:listen:- uri: '127.0.0.1:3303'advertise:client: '127.0.0.1:3303'
This configuration sets up a cluster of three nodes in one replicaset: one leader and two followers.
4. Click Apply to send the configuration to etcd.
> 
When the cluster configuration is saved, you can see the cluster topology on the Stateboard page:
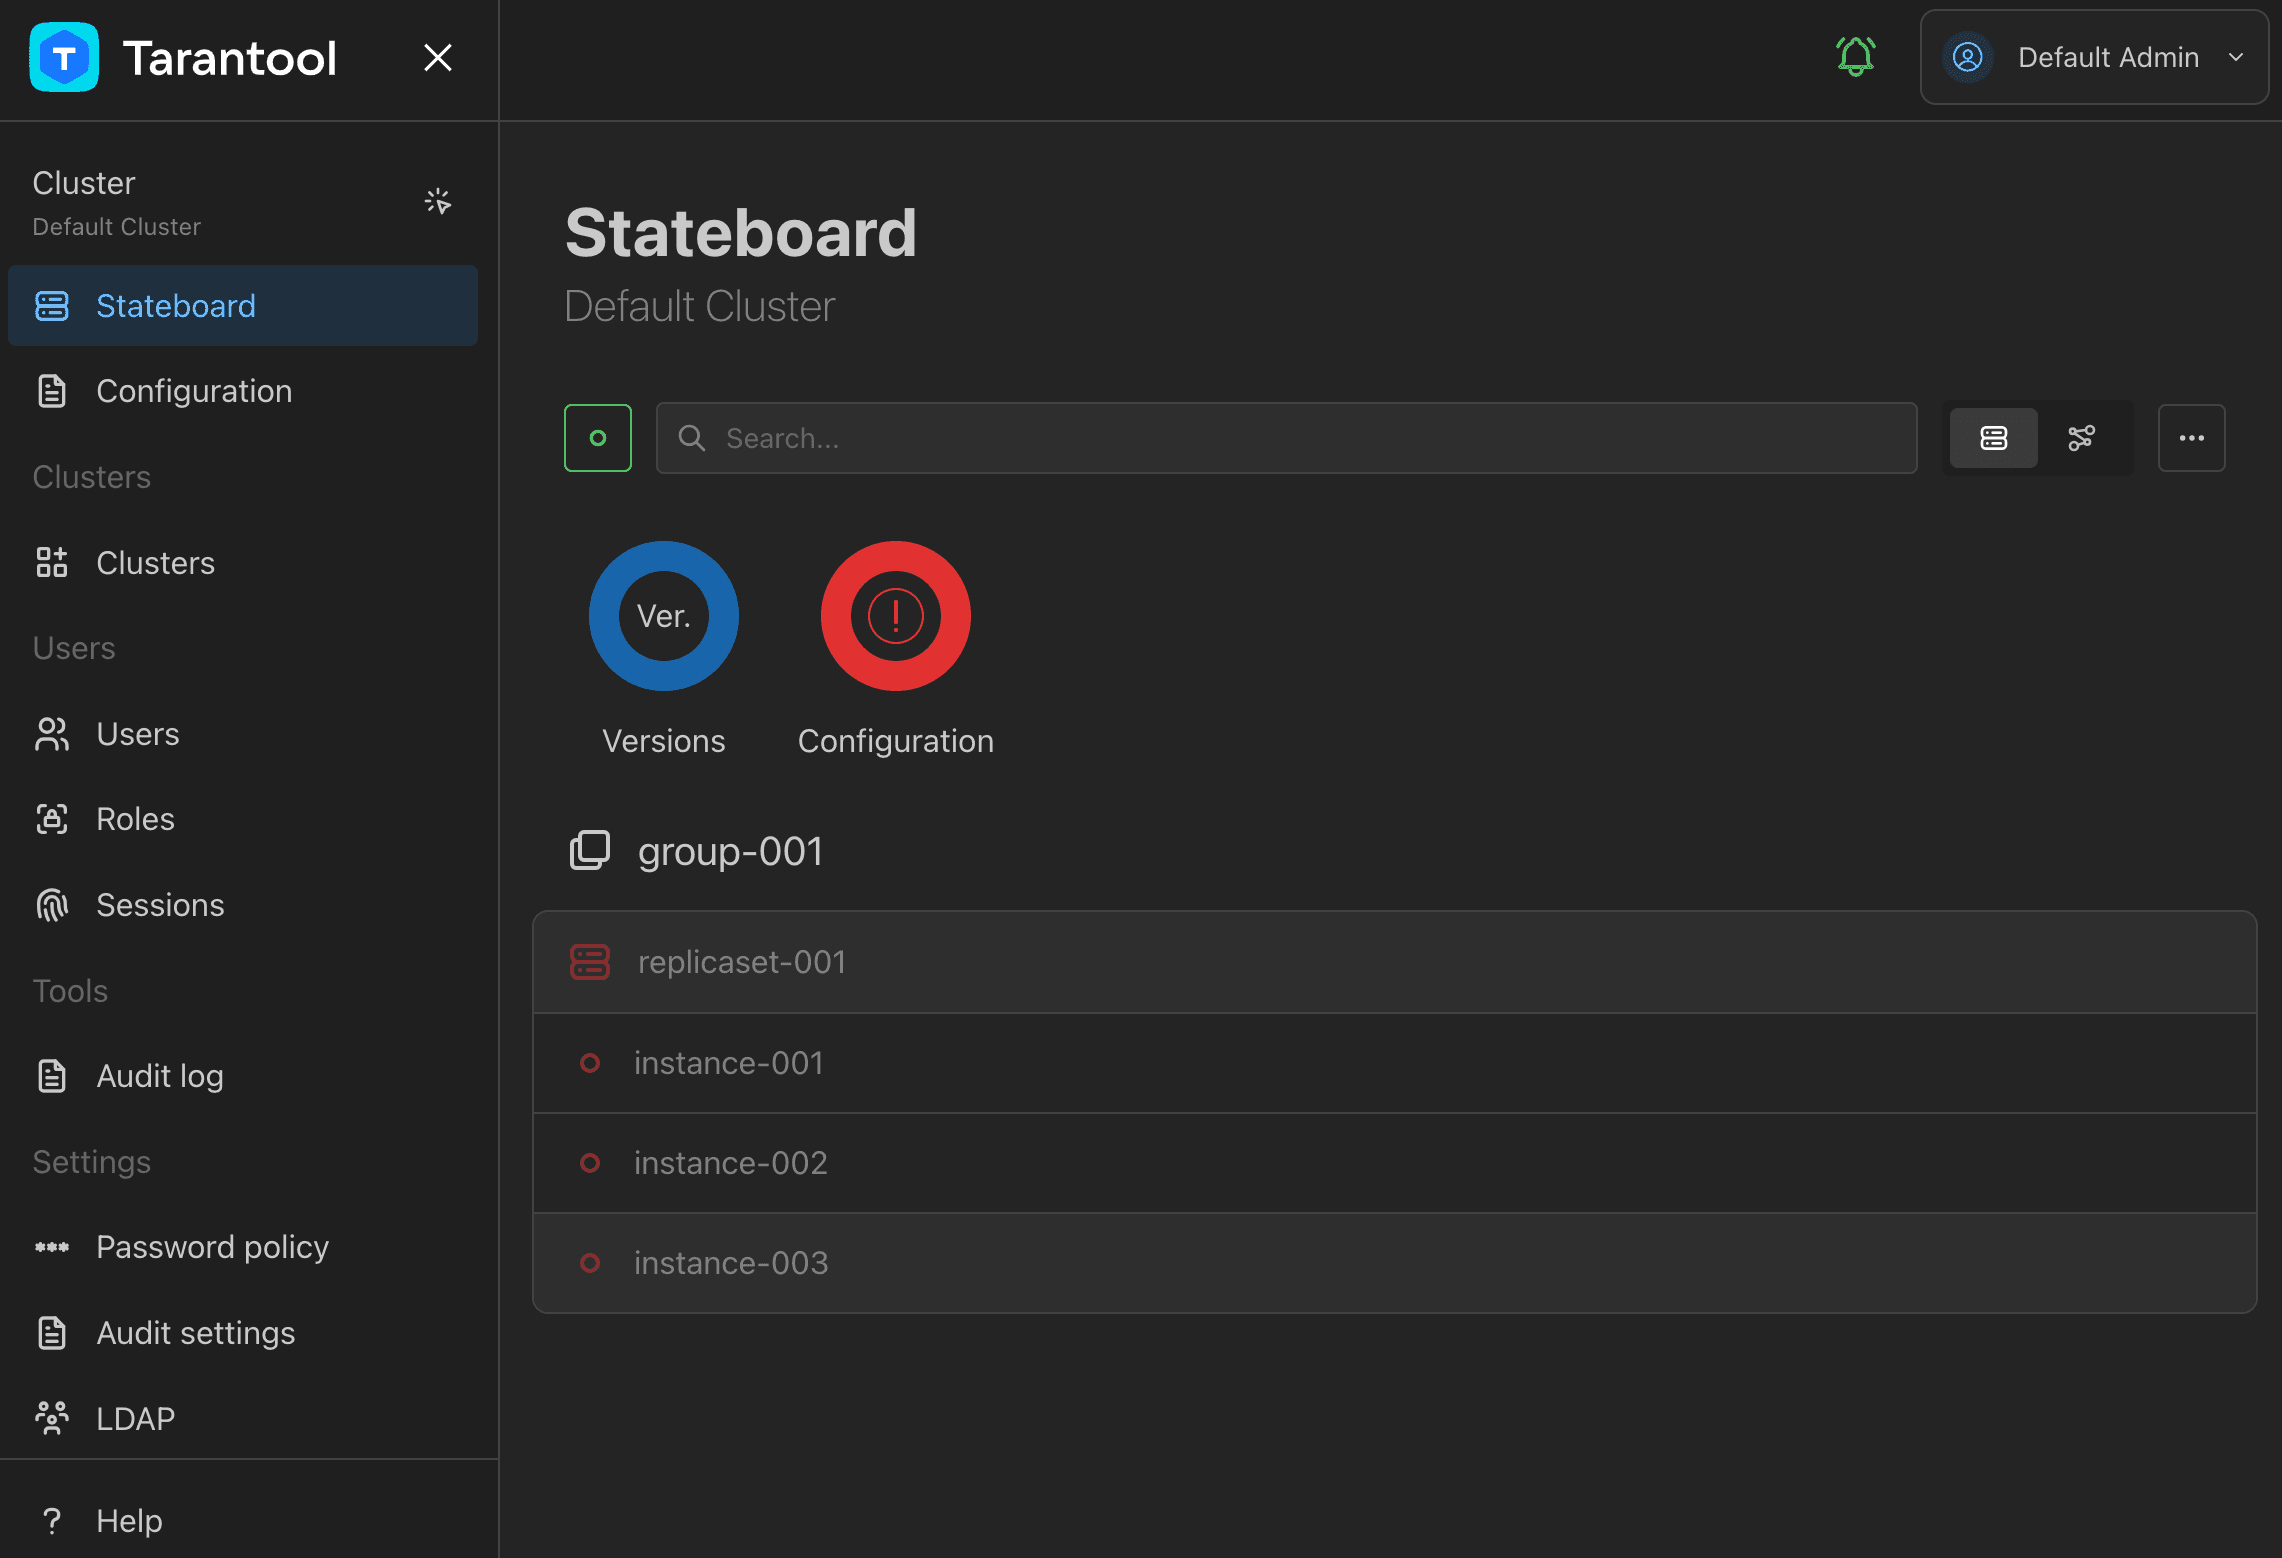
However, the cluster instances are offline because they aren't deployed yet.
To deploy a local cluster based on the configuration from etcd:
-
Go to the system terminal you used when setting up Tarantool.
-
Create a new
ttenvironment in a directory of your choice:$ mkdir cluster-env$ cd cluster-env/$ tt init -
Inside the
instances.enableddirectory of the created tt environment, create theclusterdirectory.$ mkdir instances.enabled/cluster$ cd instances.enabled/cluster/ -
Inside
instances.enabled/cluster, create theinstances.ymlandconfig.yamlfiles:instances.ymlspecifies instances to run in the current environment. In this example, there are three instances:
instance-001:instance-002:instance-003:
- `config.yaml` instructs `tt` to load the cluster configurationfrom etcd. The specified etcd location matches the configurationstorage of the **Default cluster** in TCM:
config:etcd:endpoints:- http://localhost:2379prefix: /default
-
Start the cluster from the
ttenvironment root (thecluster-envdirectory):$ tt start clusterTo check how the cluster started, run
tt status. This output should look like this:$ tt status clusterINSTANCE STATUS PID MODE CONFIG BOX UPSTREAMcluster:instance-001 RUNNING 8747 RW ready running --cluster:instance-002 RUNNING 8748 RO ready running --cluster:instance-003 RUNNING 8749 RO ready running --
To learn to interact with a cluster in TCM, complete typical database tasks such as:
- Checking the cluster state.
- Creating a space.
- Writing data.
- Viewing data.
To check the cluster state in TCM, go to Stateboard. Here you see the overview of the cluster topology, health, memory consumption, and other information.
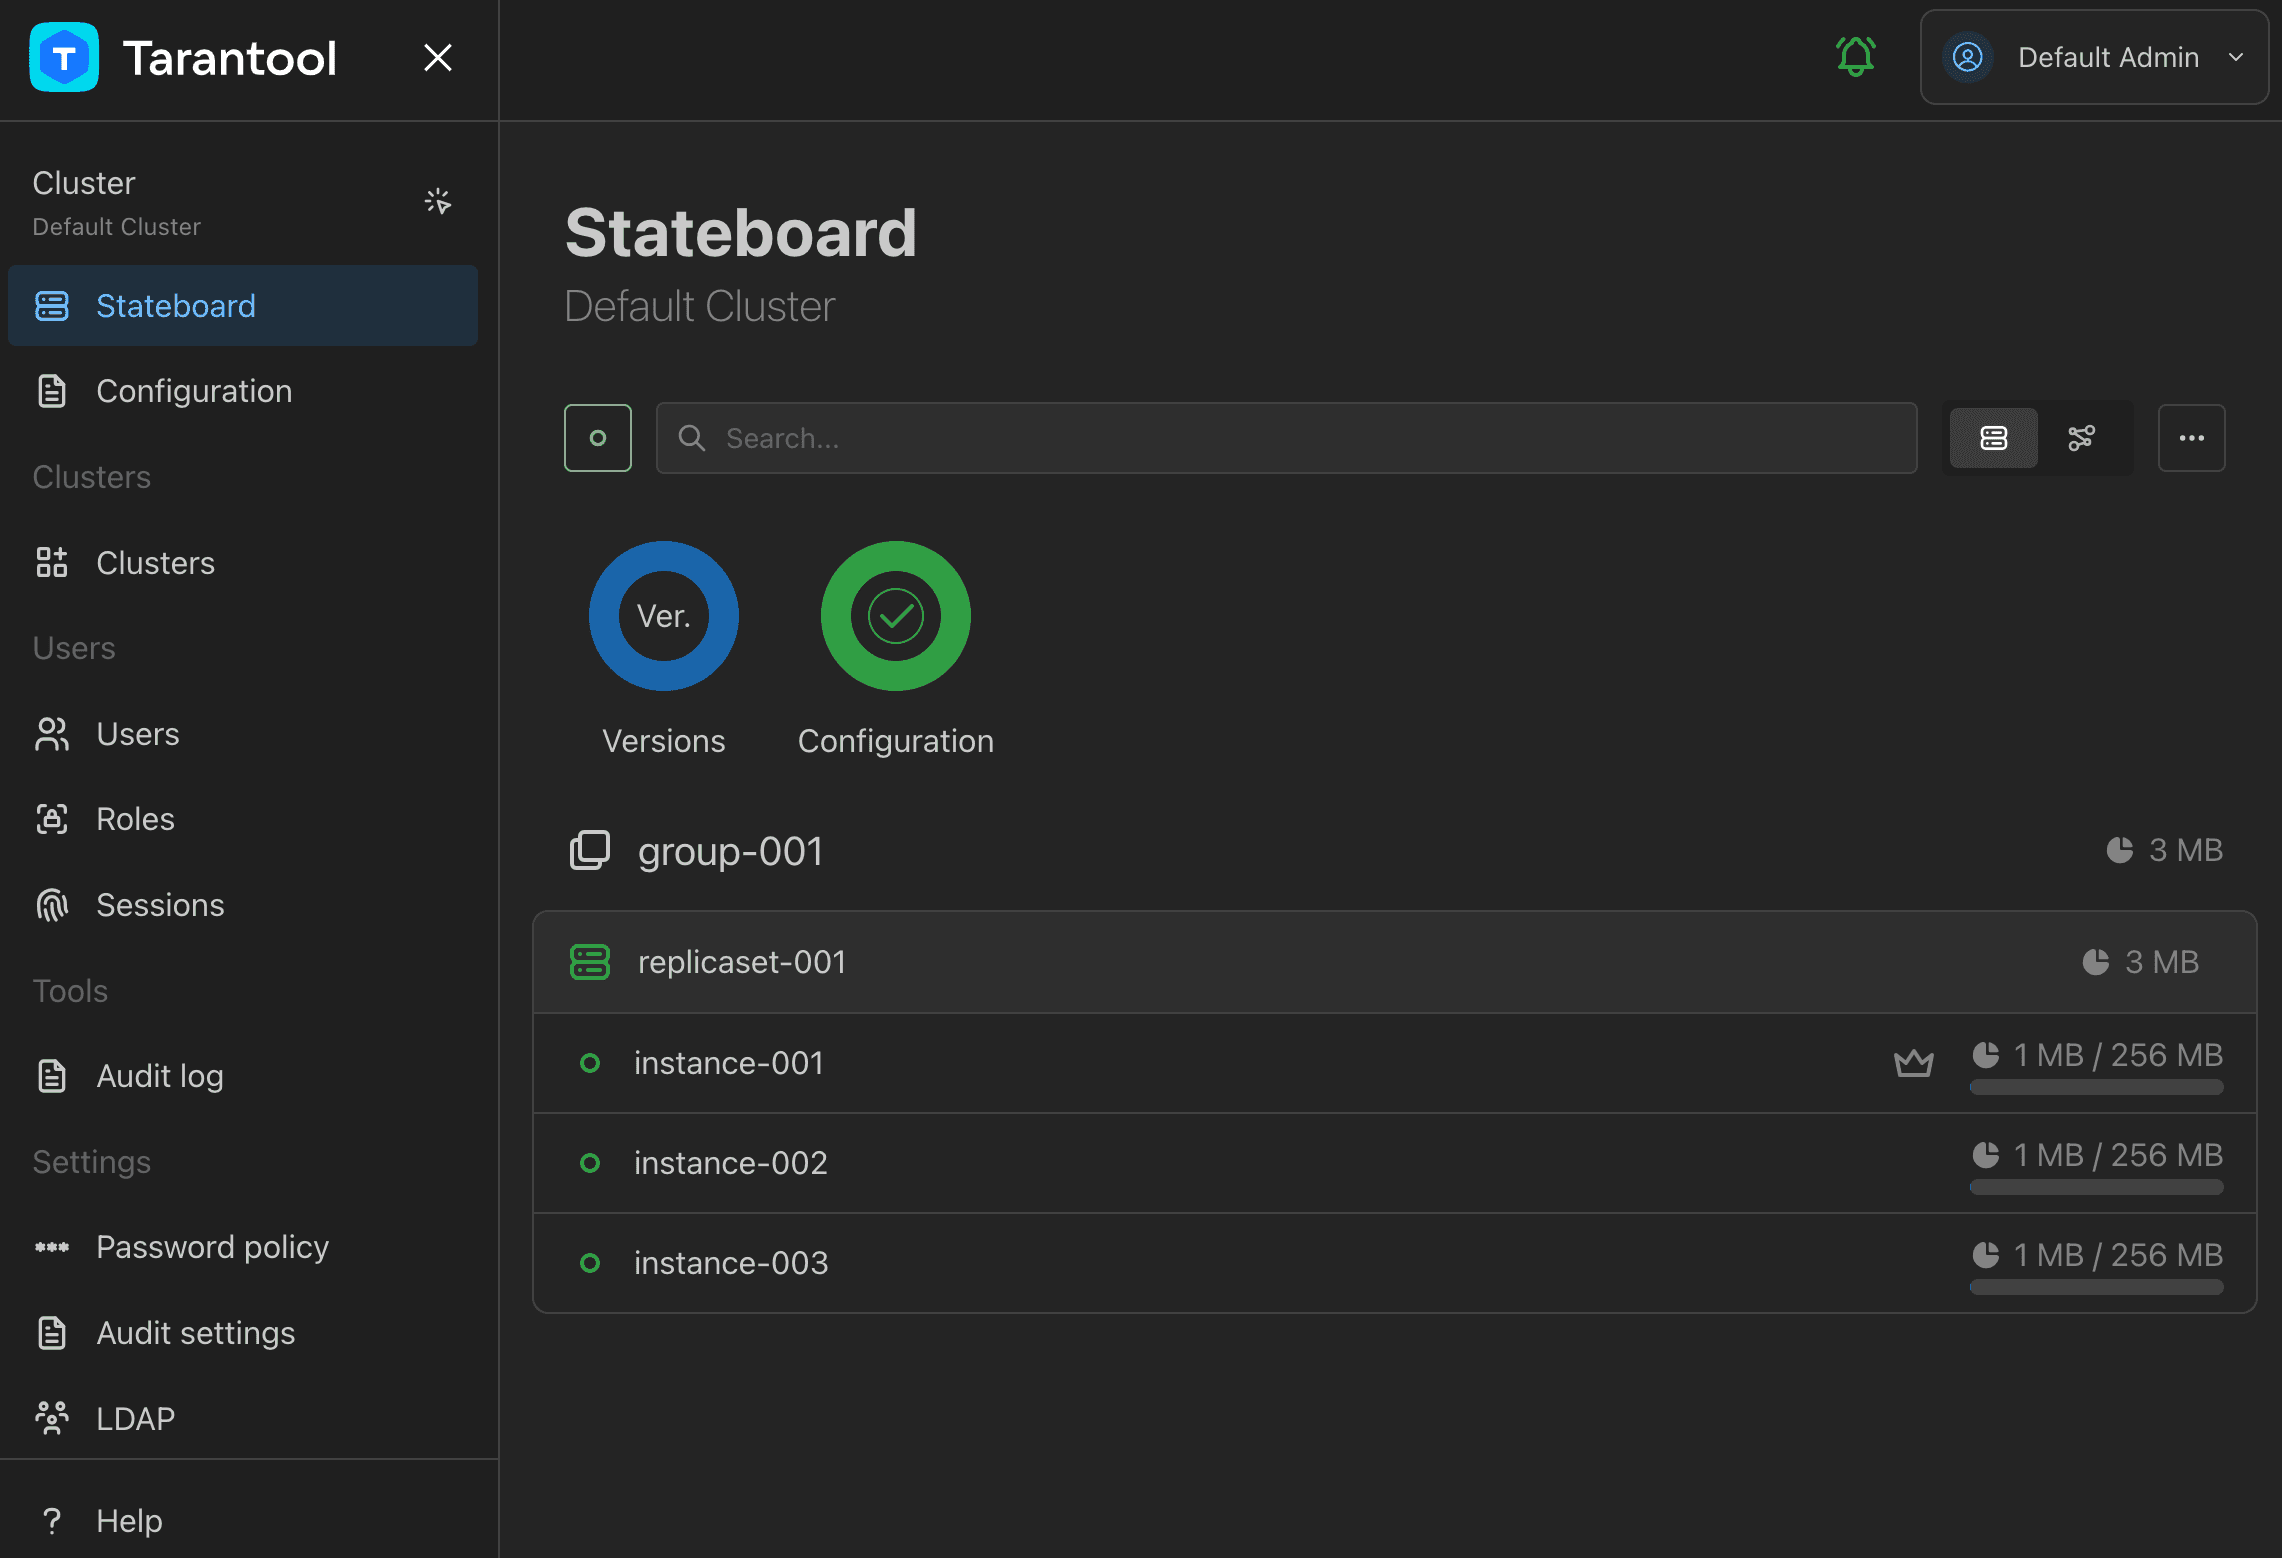
To view detailed information about an instance, click its name in the instances list on the Stateboard page.
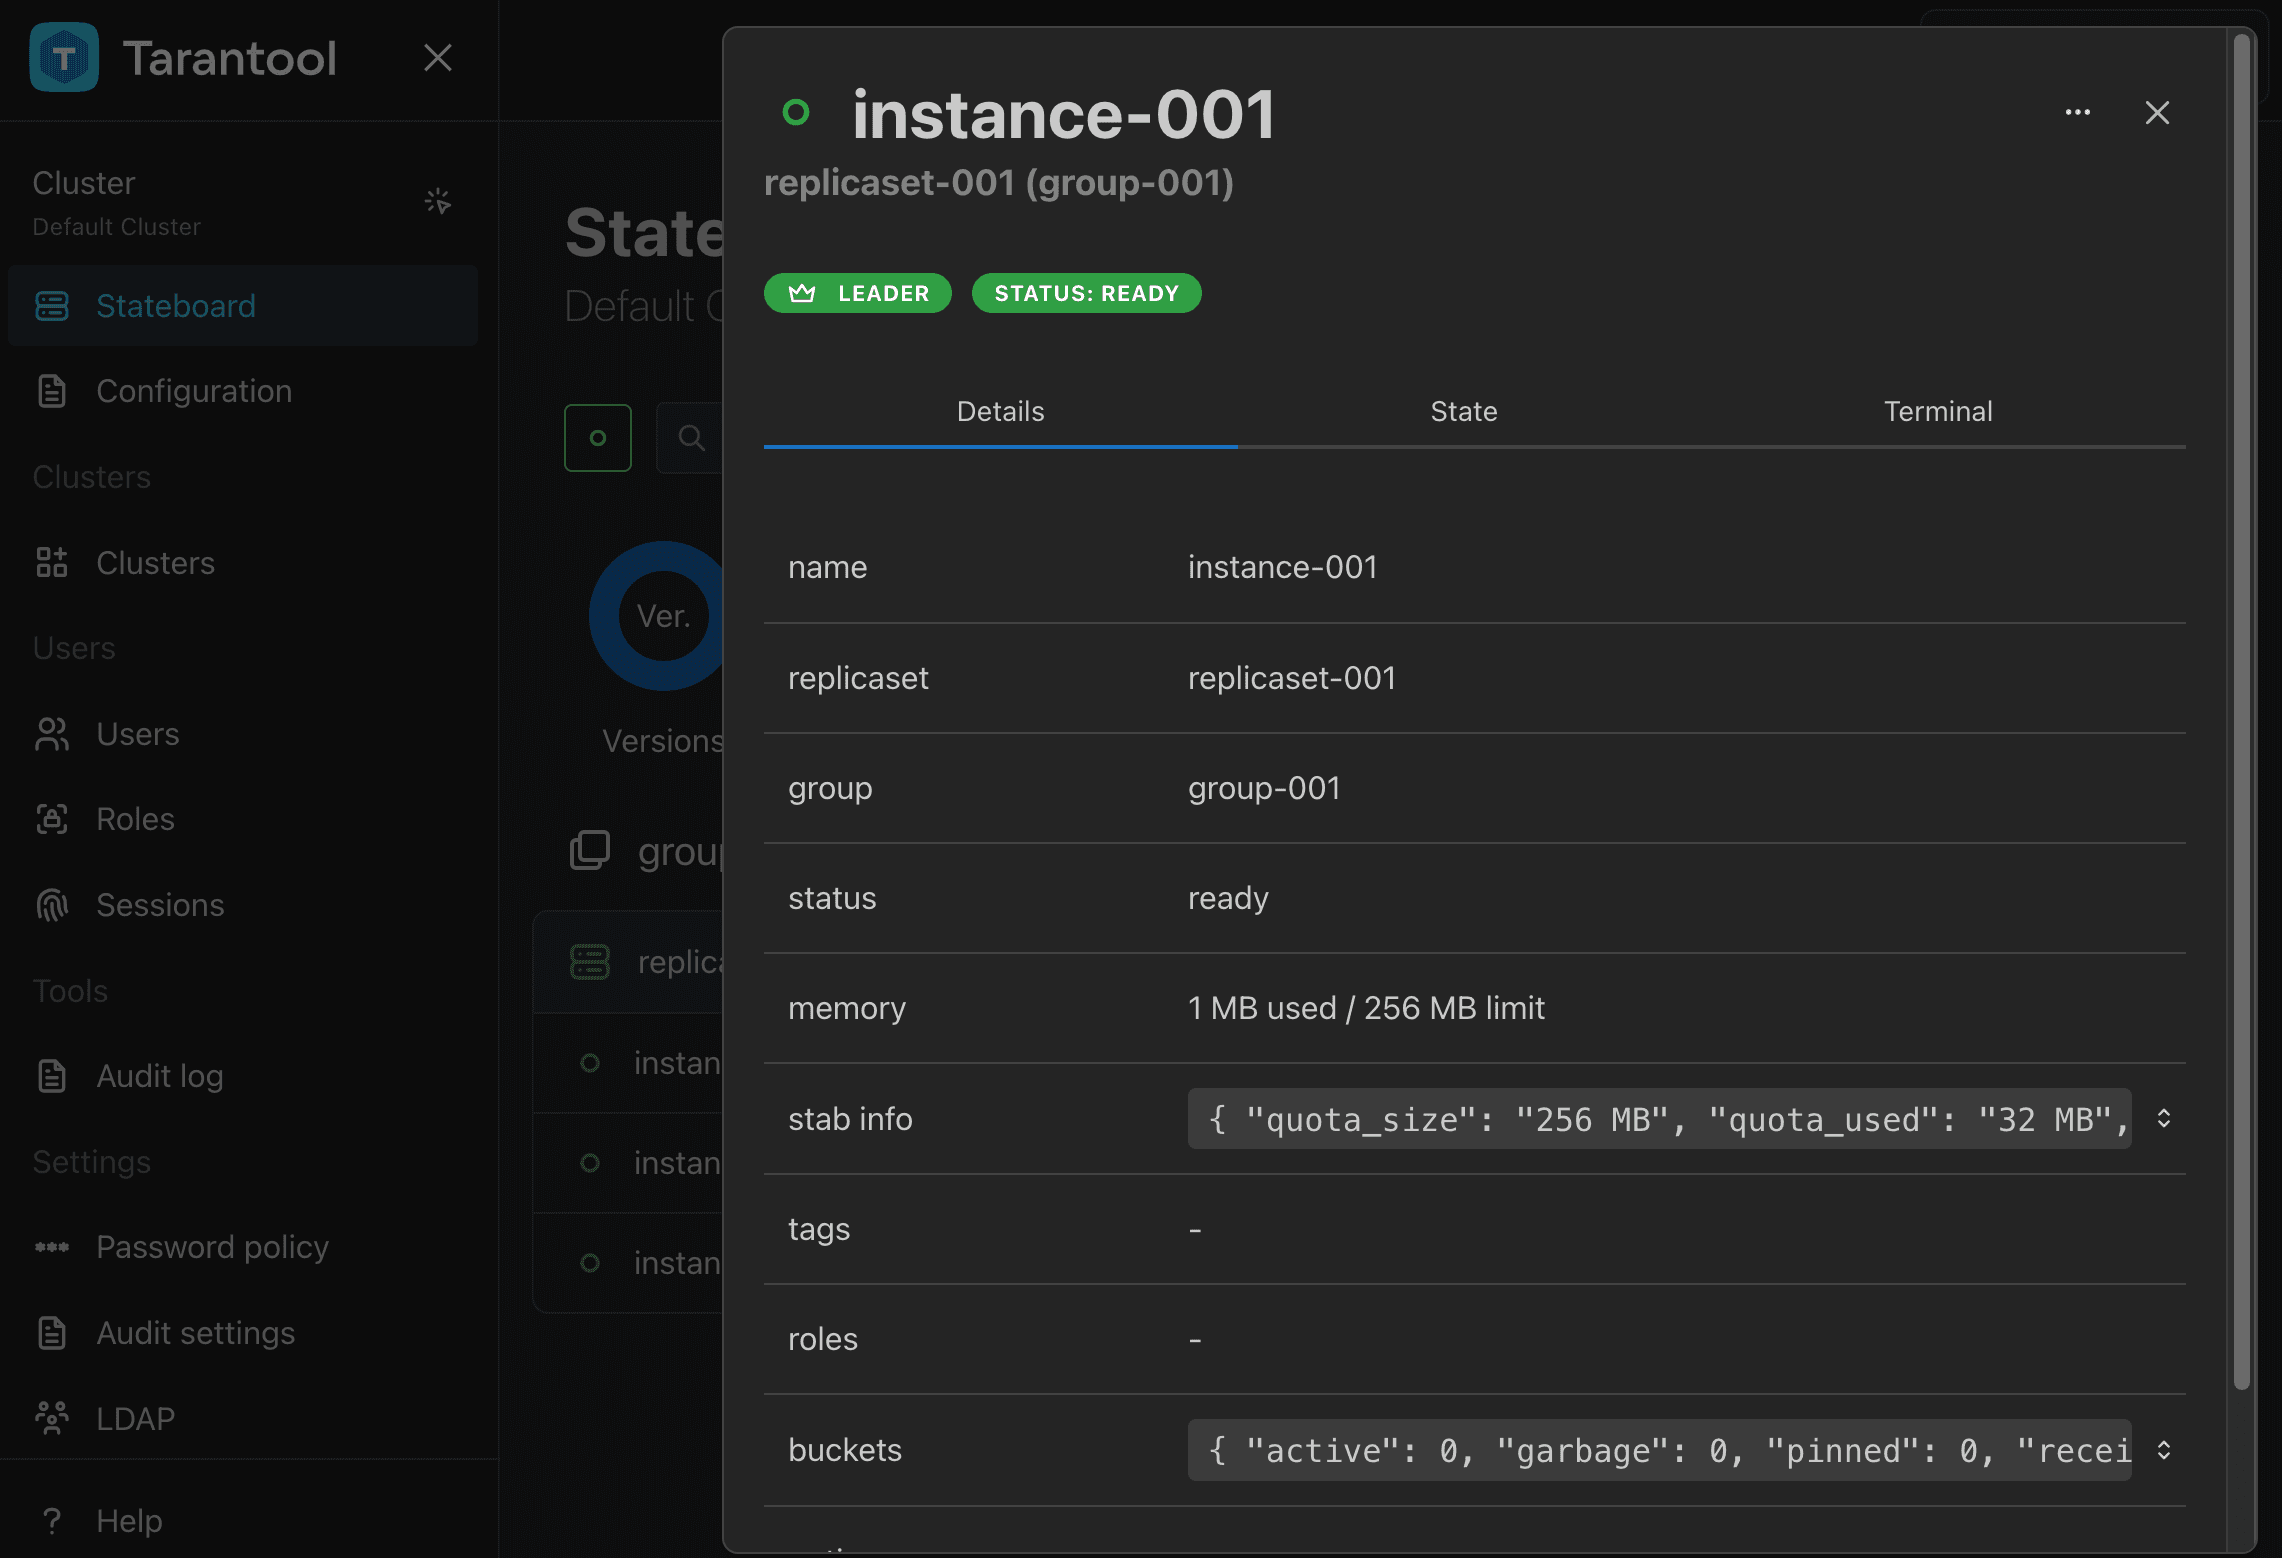
To connect to the instance interactively and execute code on it, go to the Terminal tab.
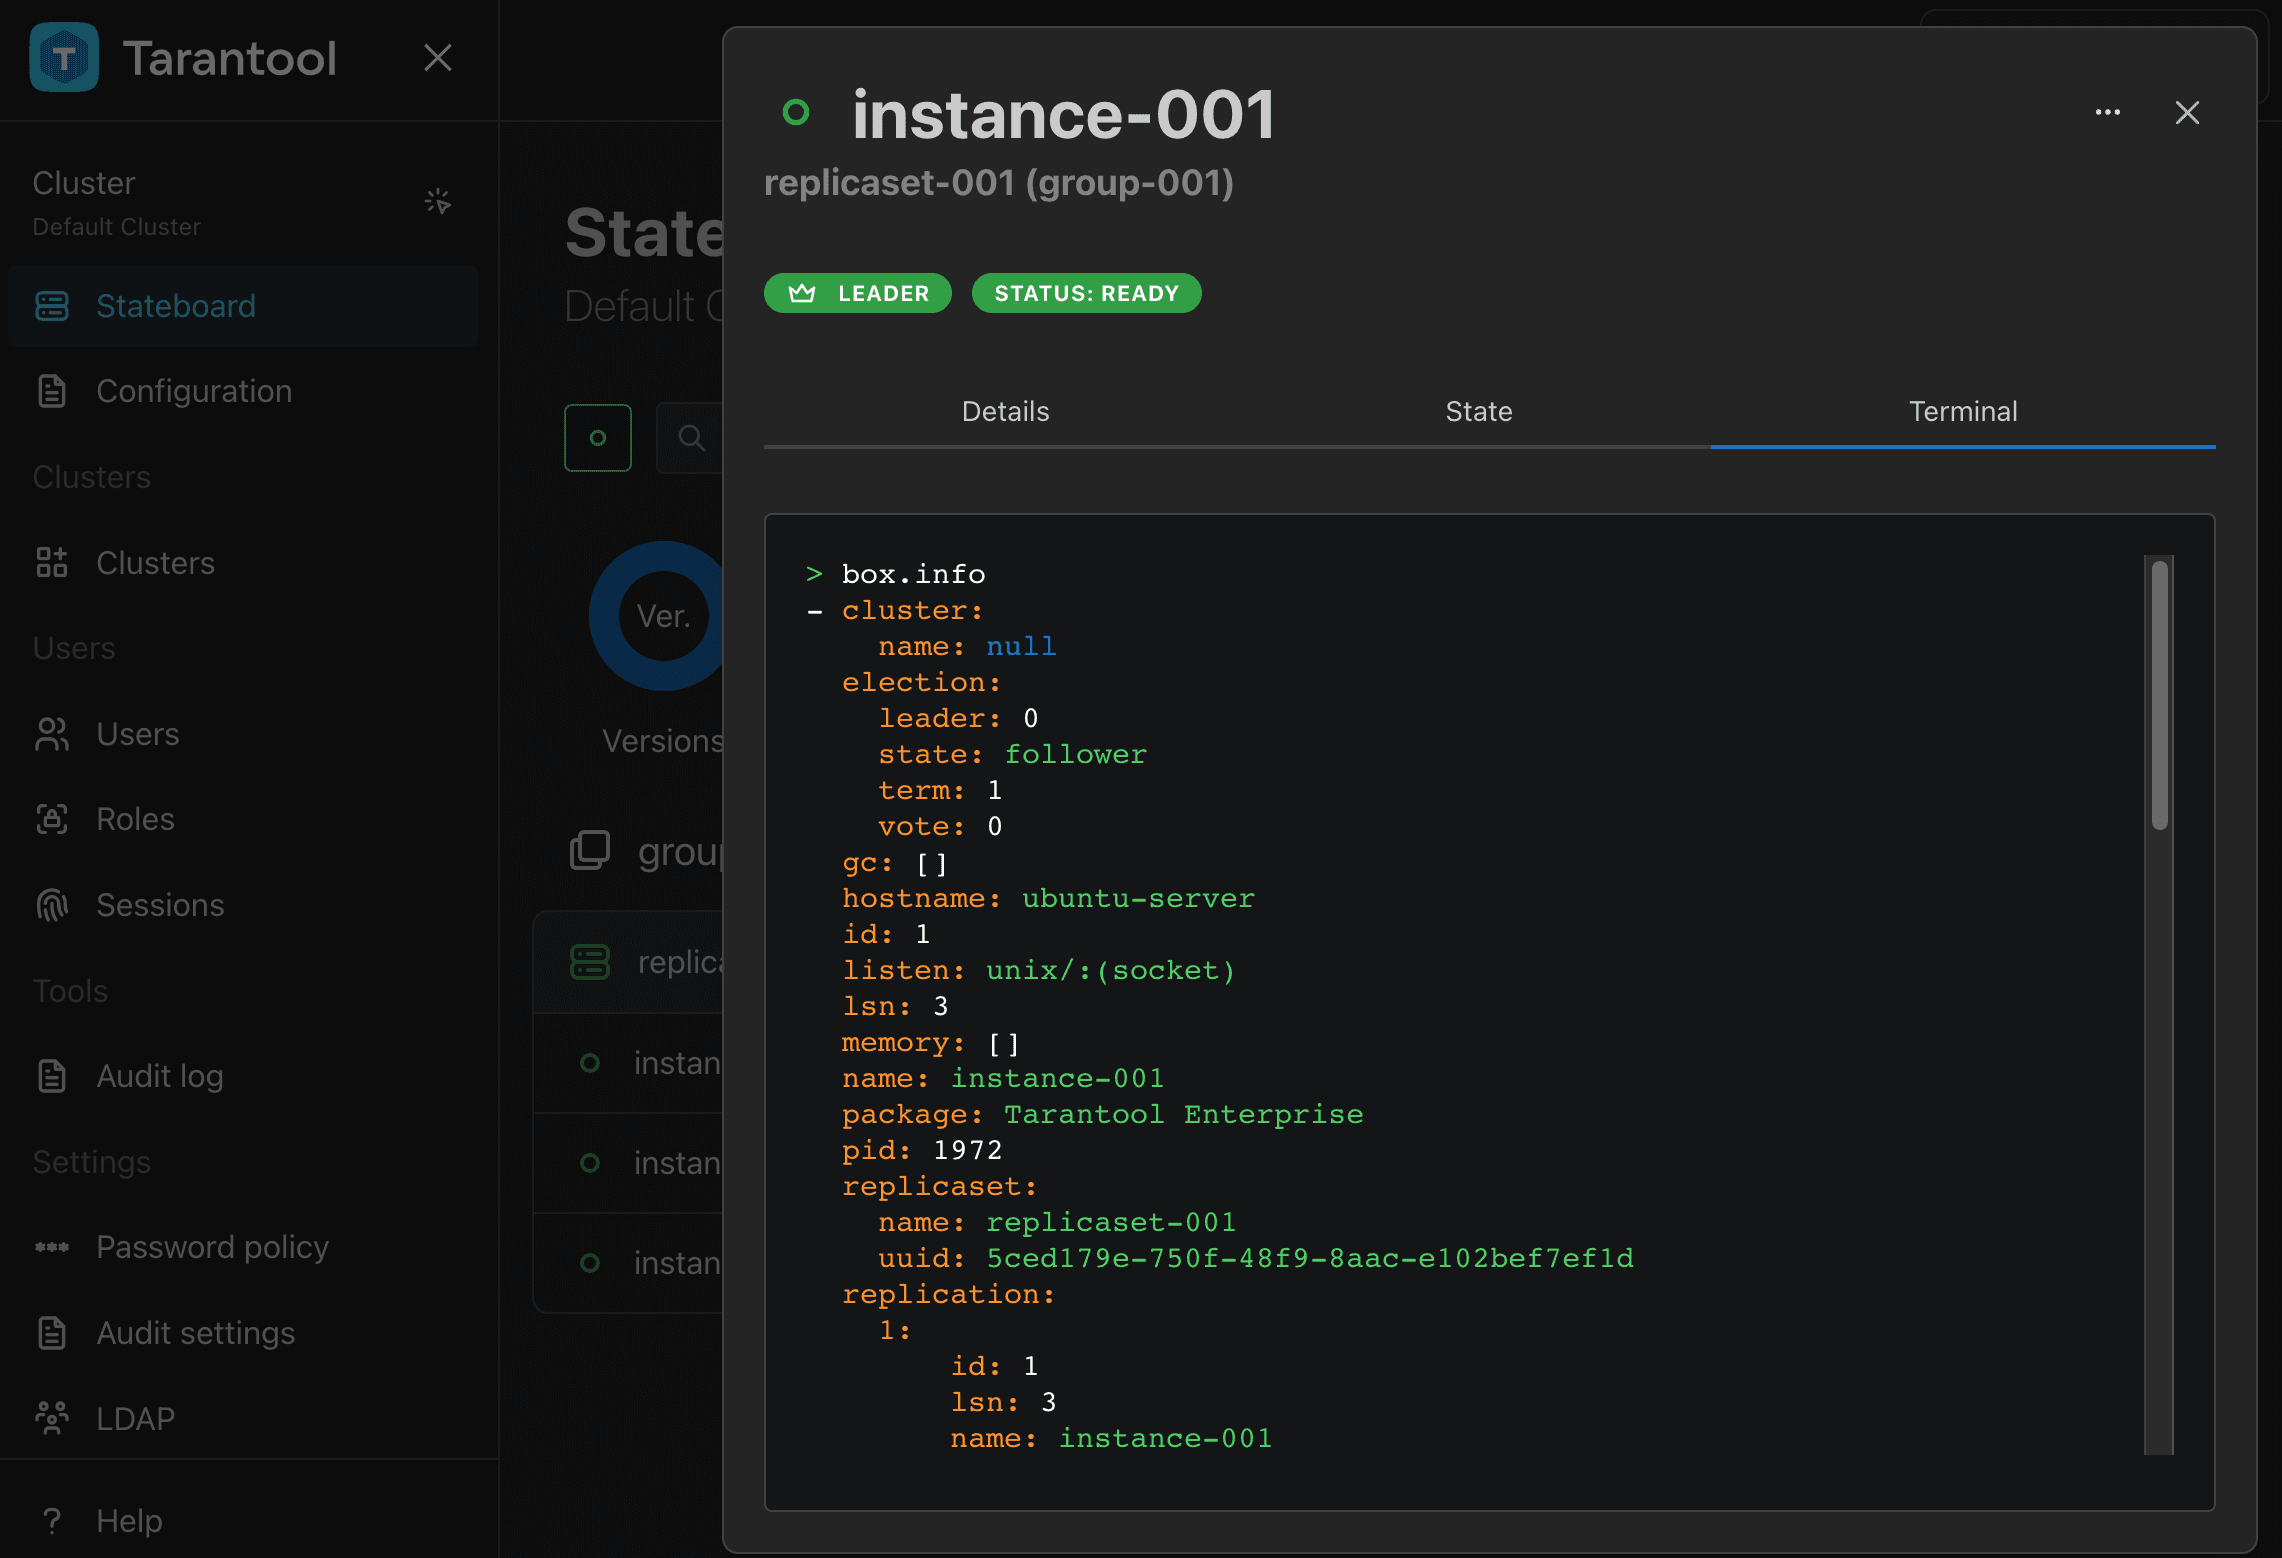
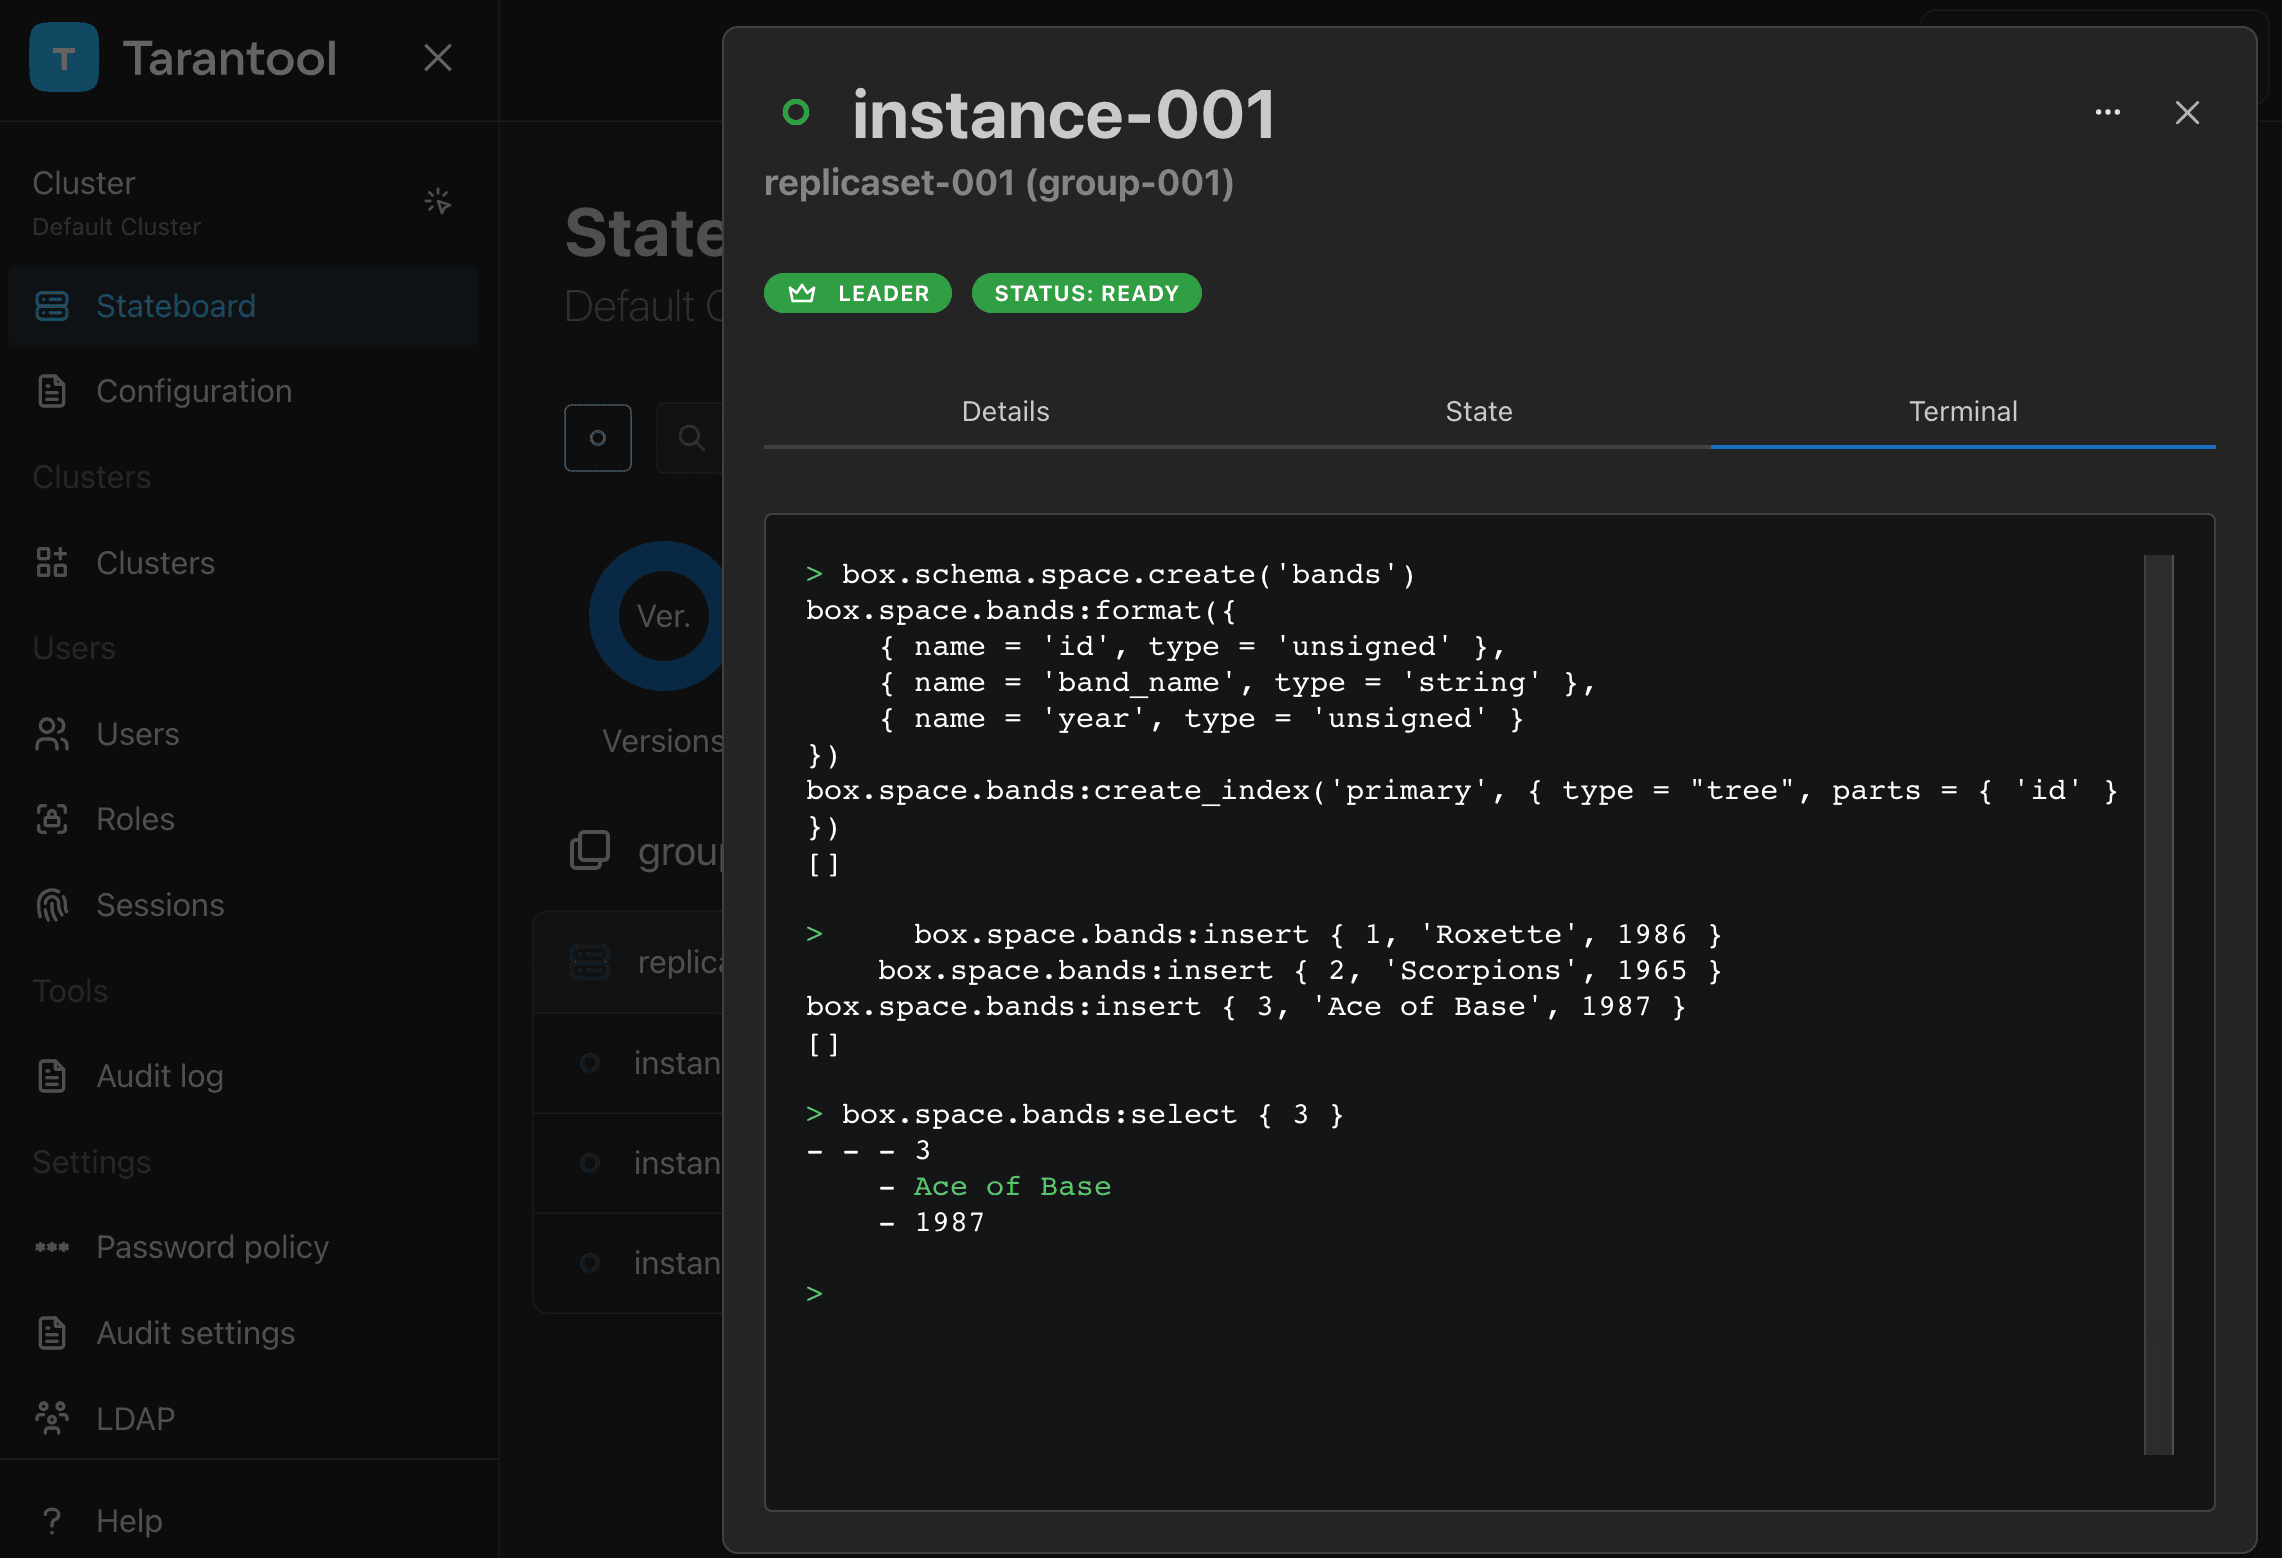
Go to the terminal of instance-001 (the leader instance) and run the
following code to create a formatted space with a primary index in the
cluster:
/code_snippets/snippets/config/instances.enabled/tcm_get_started/myapp.lua
Since instance-001 is a read-write instance (its box.info.ro is
false), the write requests must be executed on it. Run the following
code in the instance-001 terminal to write tuples in the space:
/code_snippets/snippets/config/instances.enabled/tcm_get_started/myapp.lua
Check the space's tuples by running a read request on instance-001:
/code_snippets/snippets/config/instances.enabled/tcm_get_started/myapp.lua
This is how it looks in TCM:
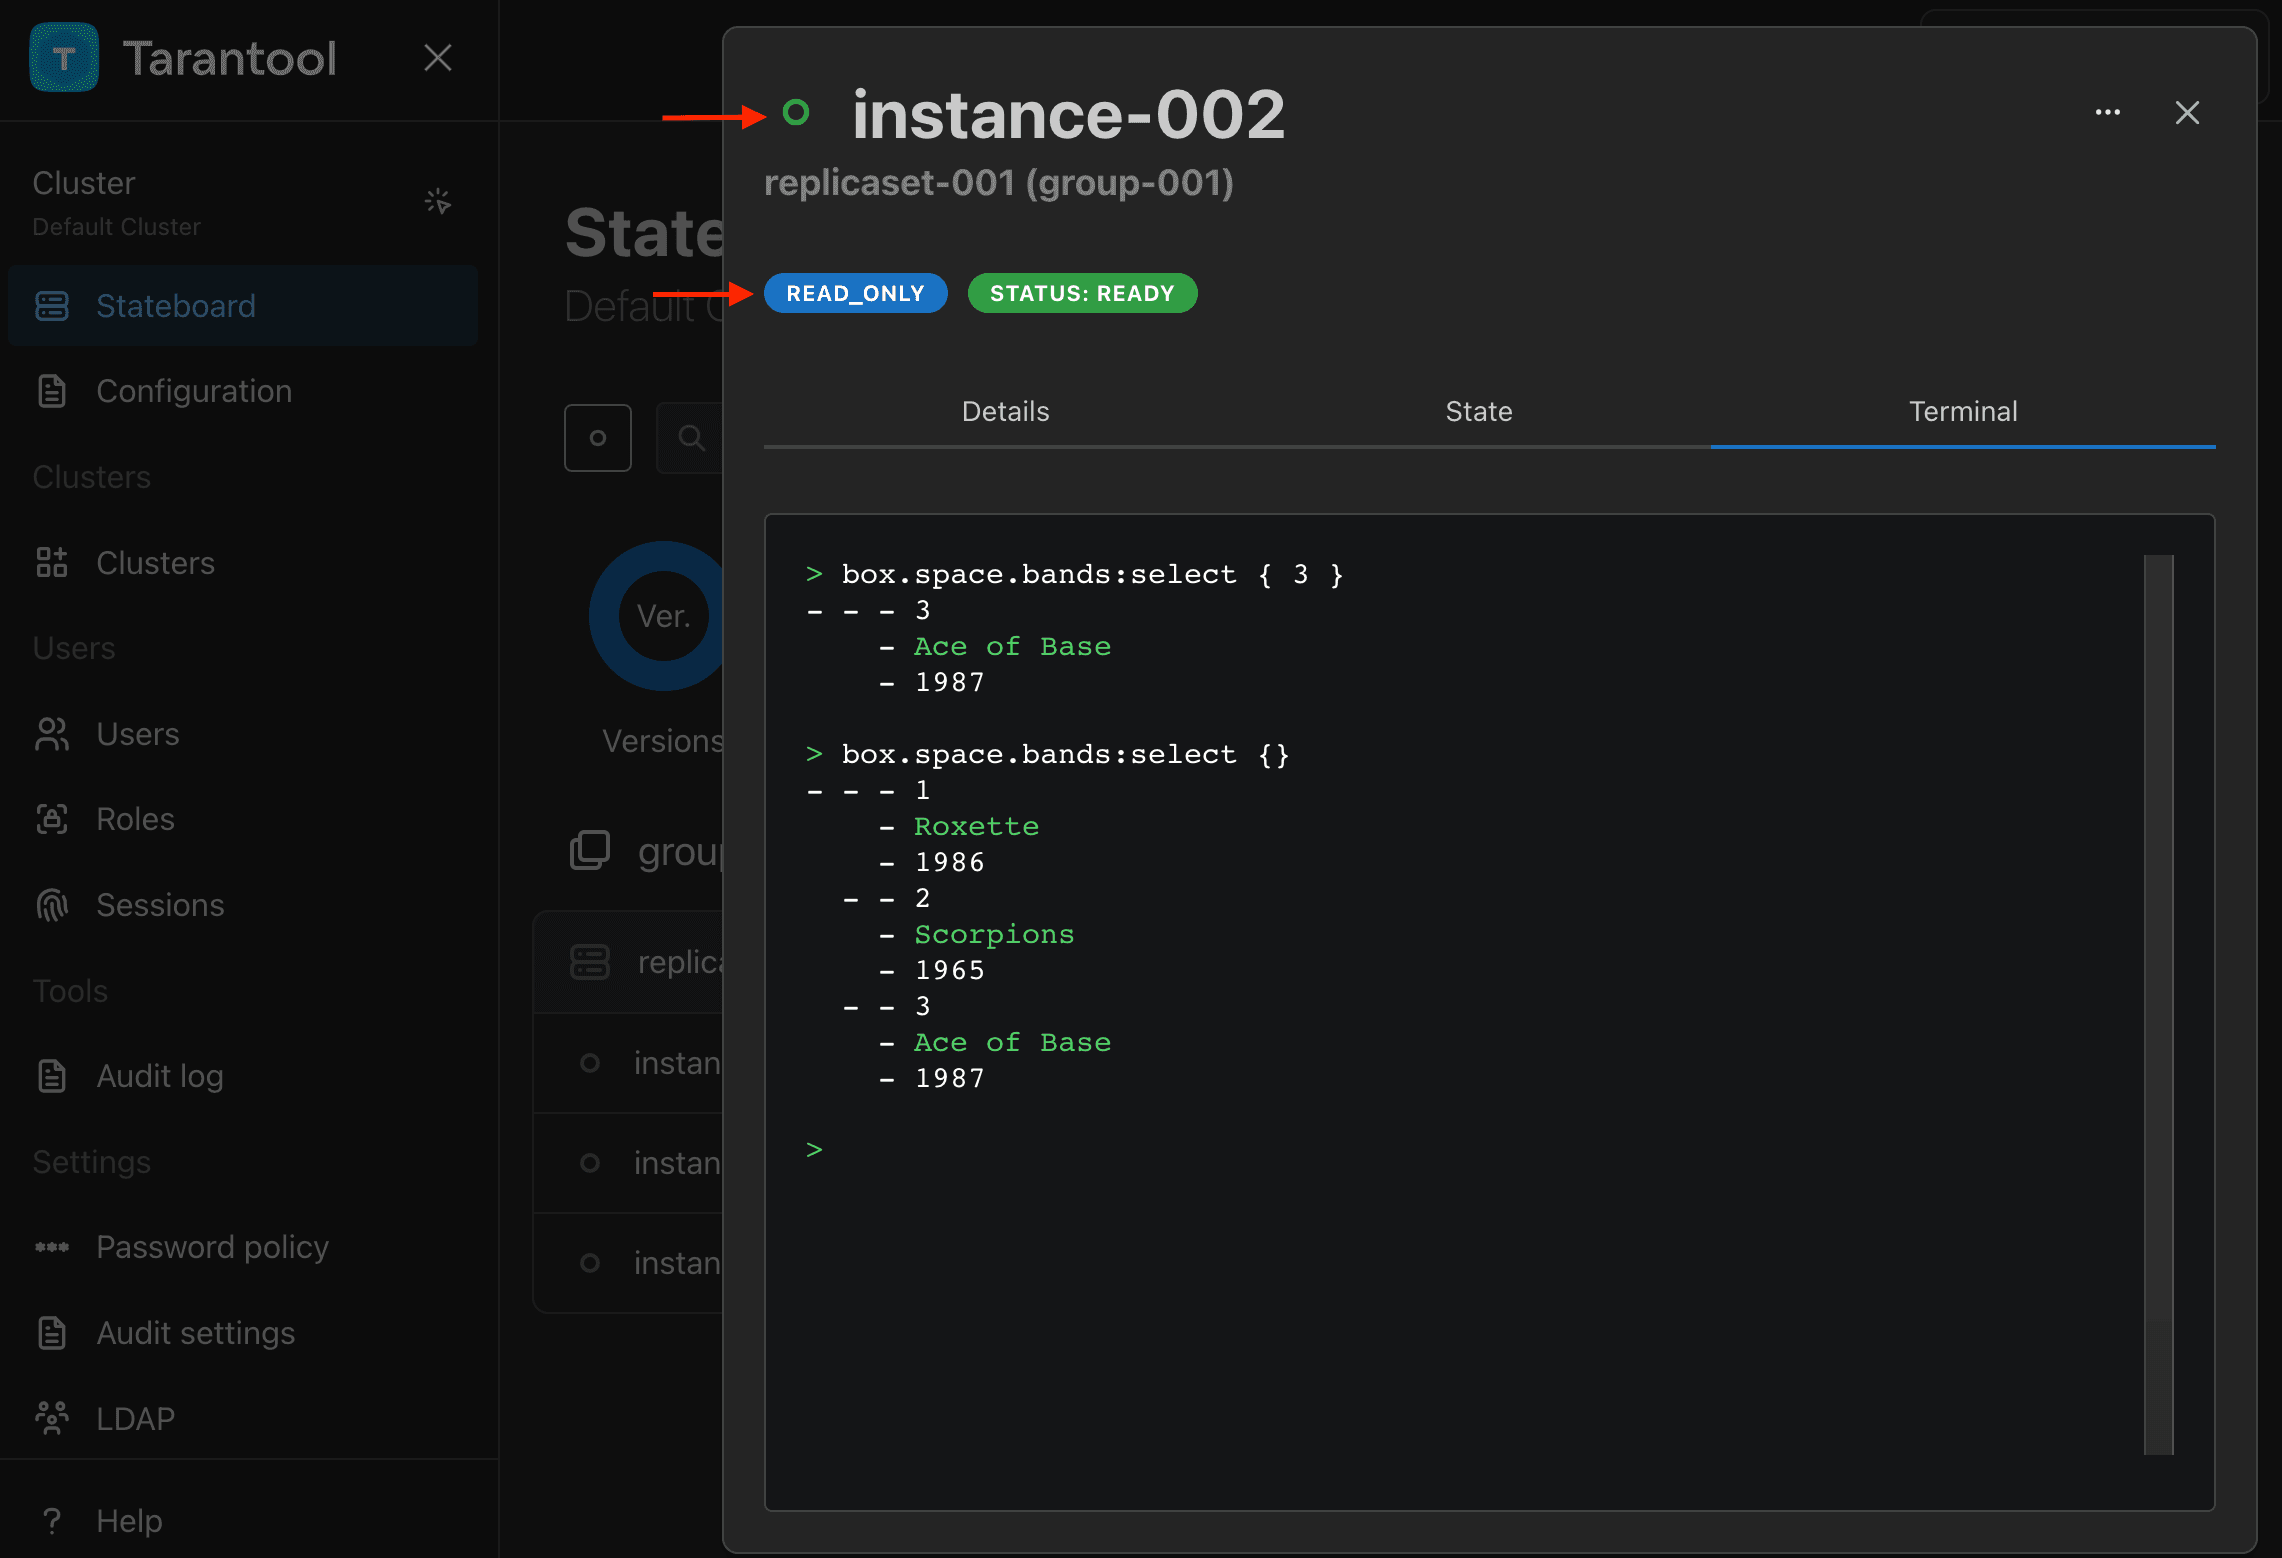
To check that the data is replicated across instances, run the read
request on any other instance – instance-002 or instance-003. The
result is the same as on instance-001.
TCM web UI includes a tool for viewing data stored in the cluster. To view the space tuples in TCM:
-
Click an instance name on the Stateboard page.
-
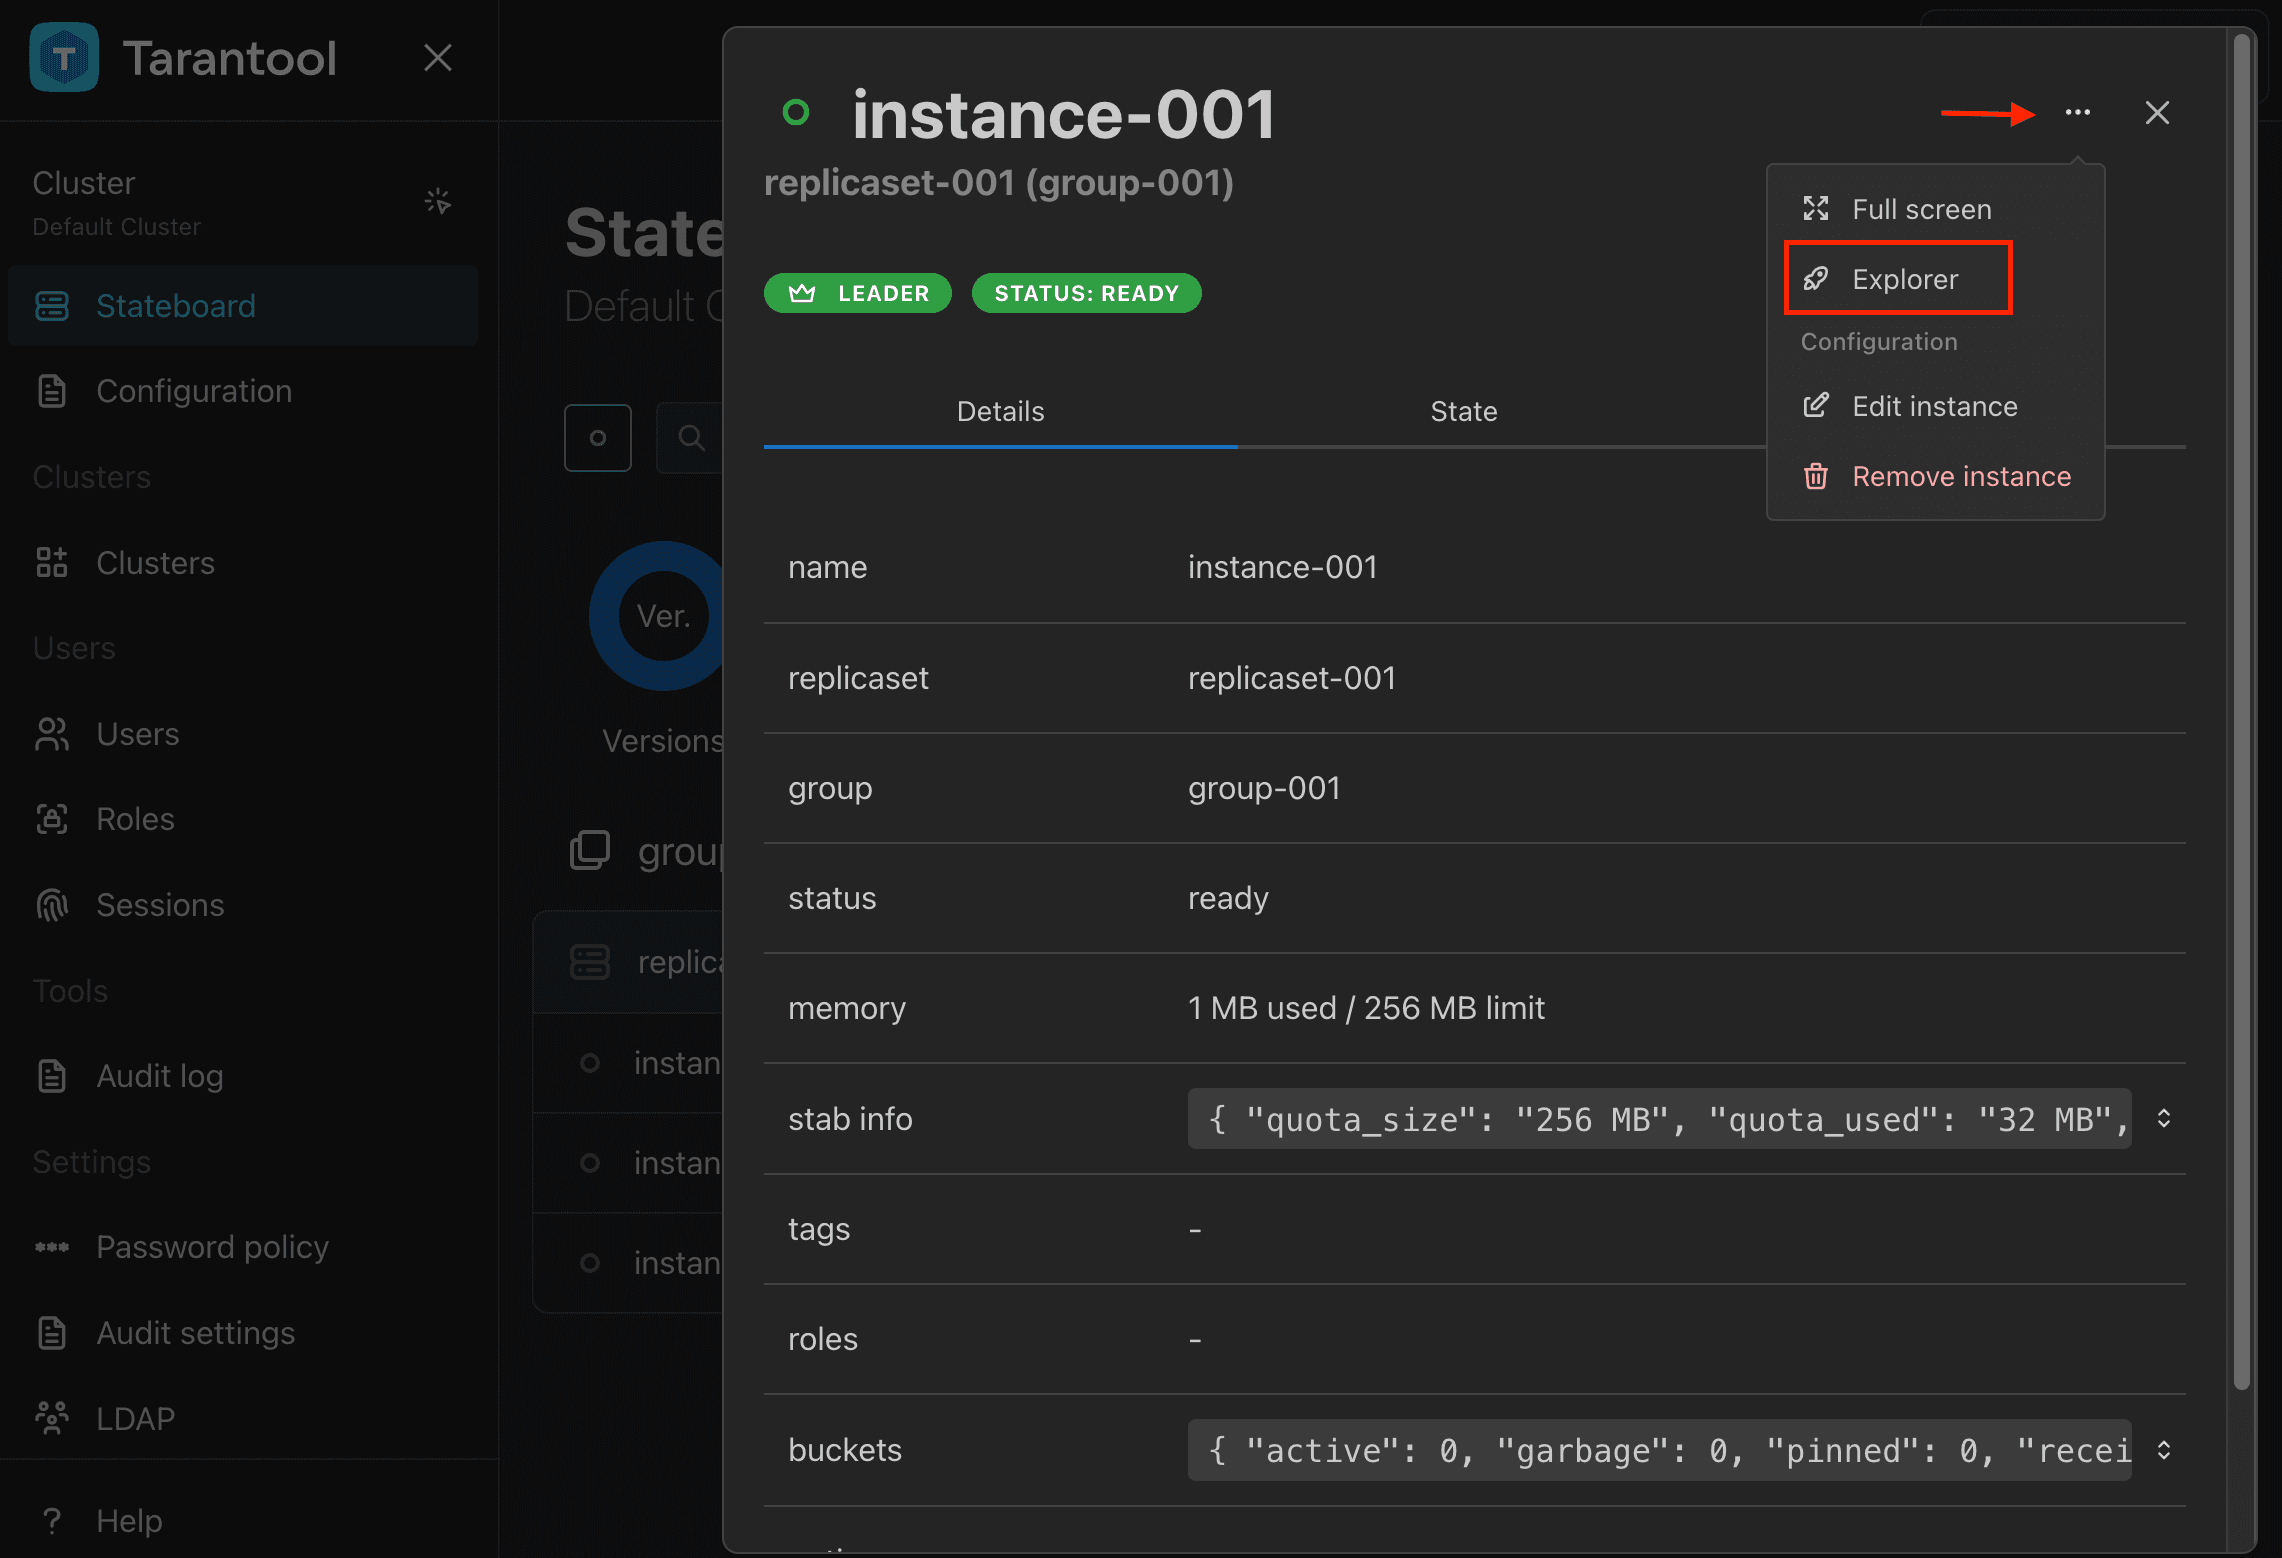
Open the Actions menu in the top-right corner and click Explorer.
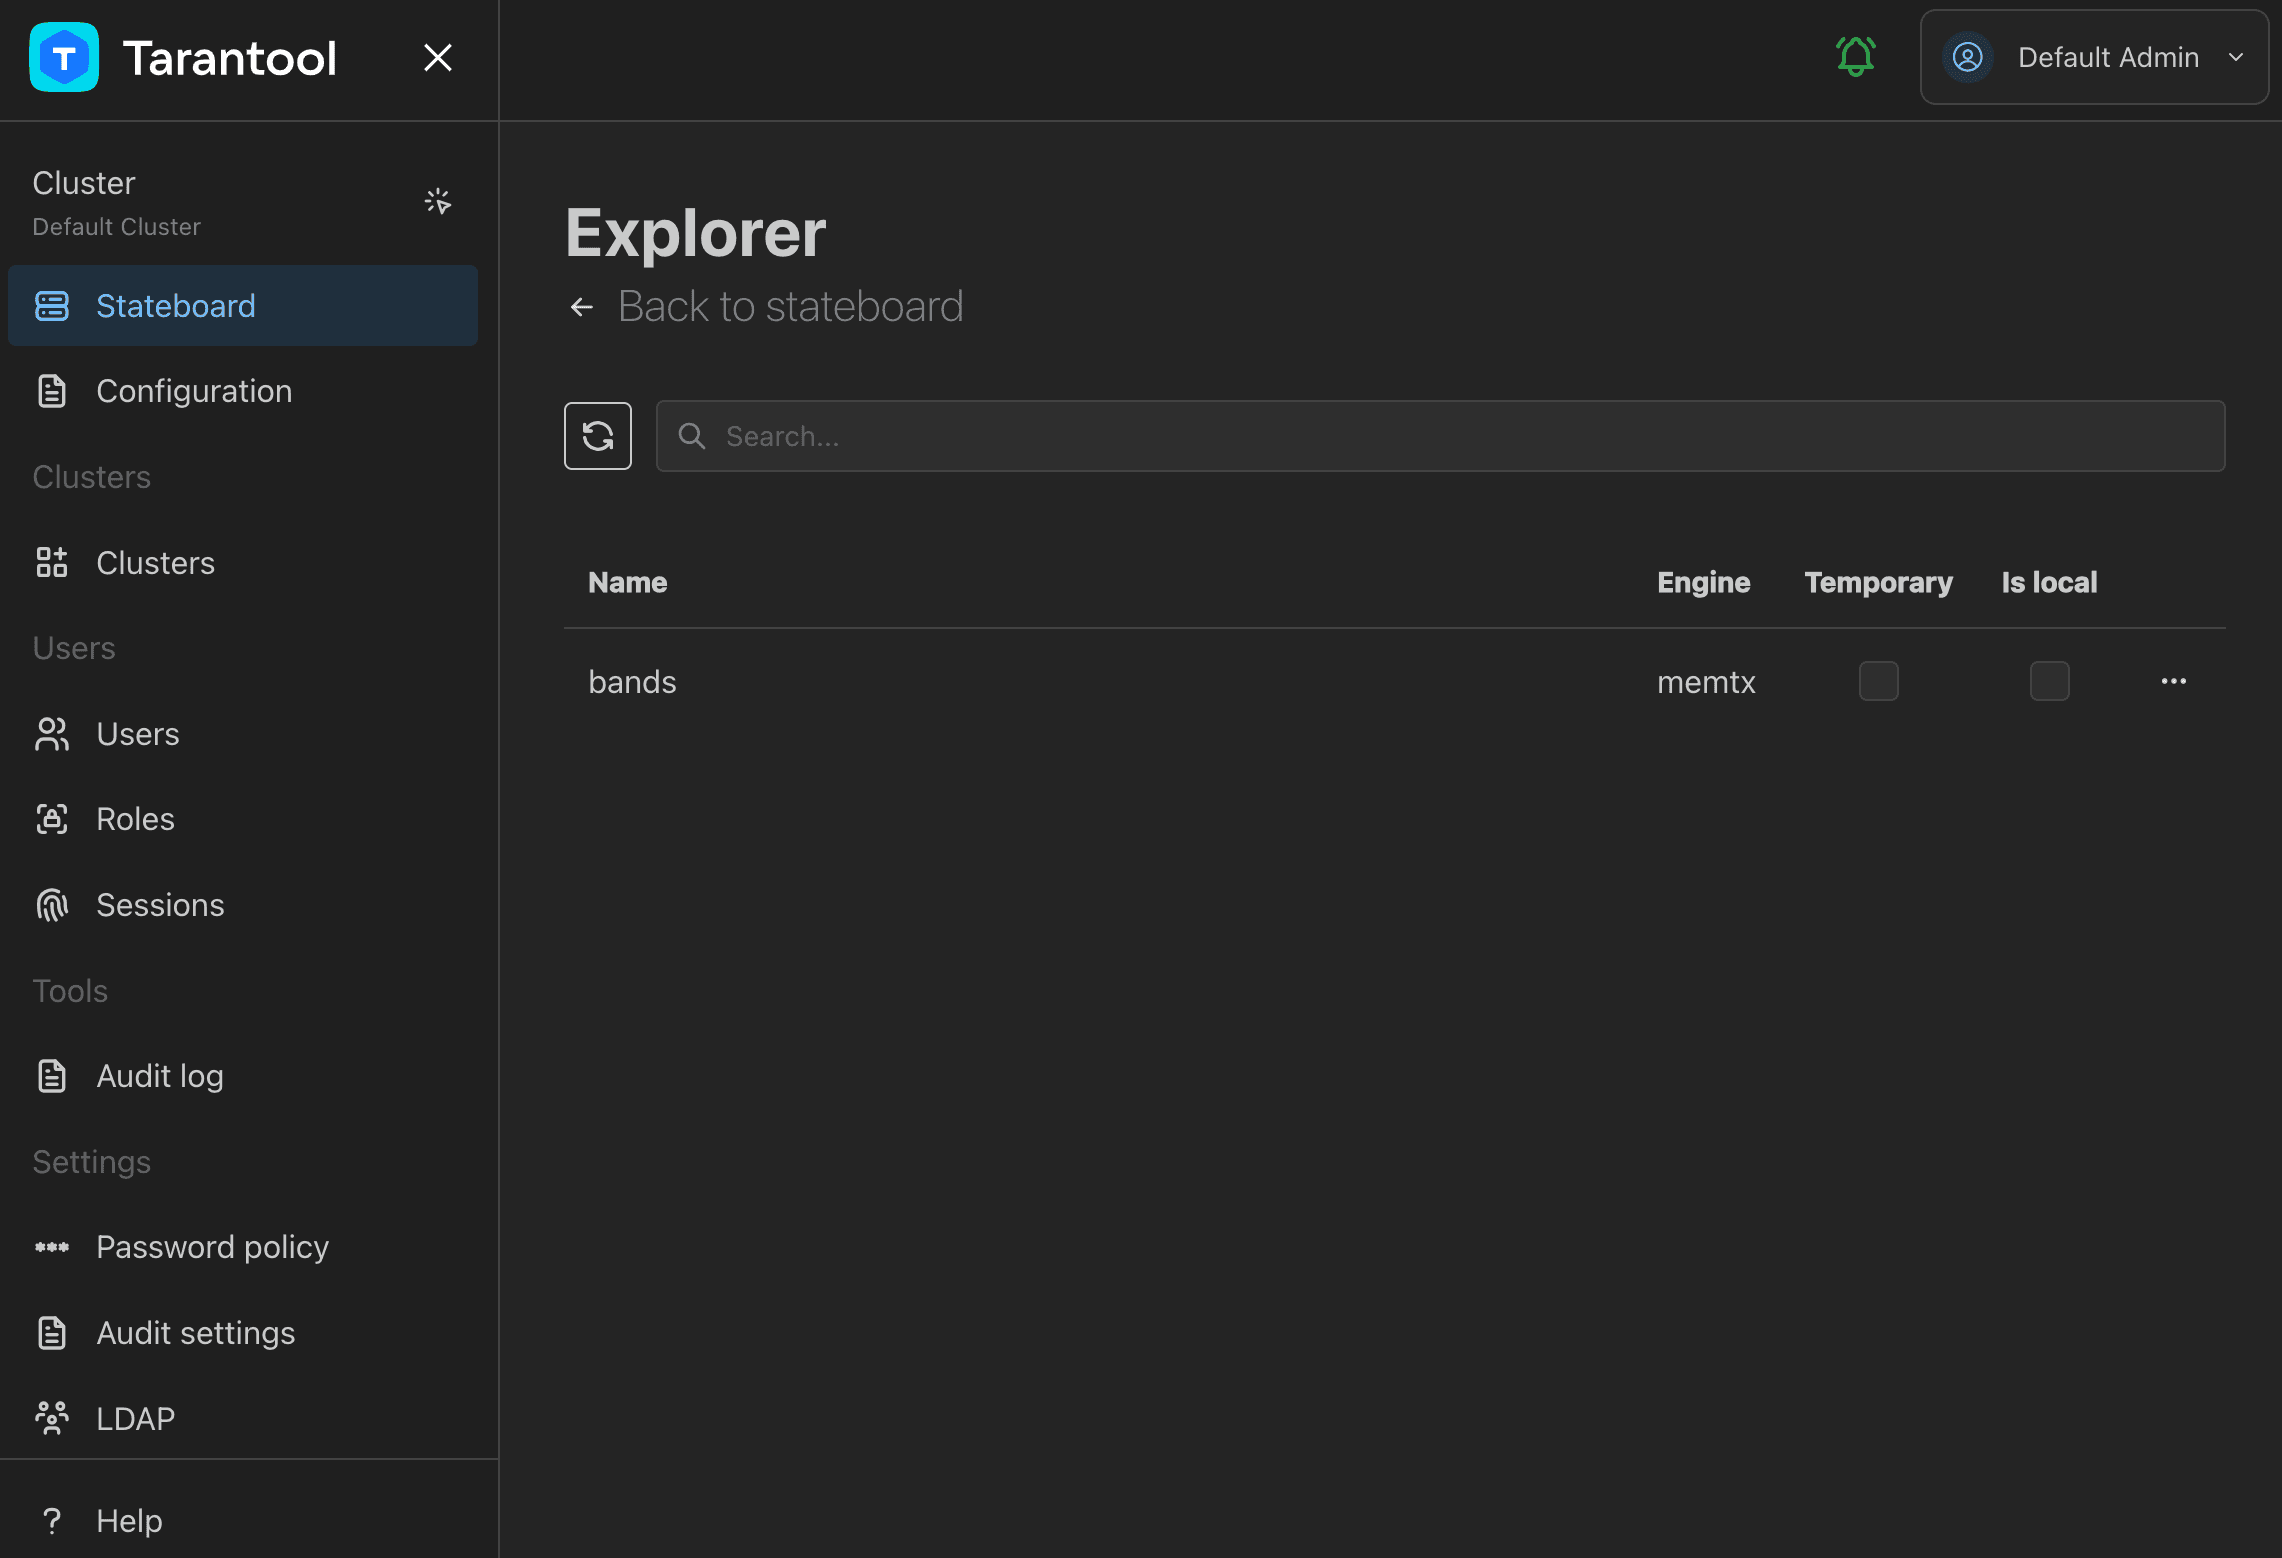
This opens the page that lists user-created spaces on the instance.
-
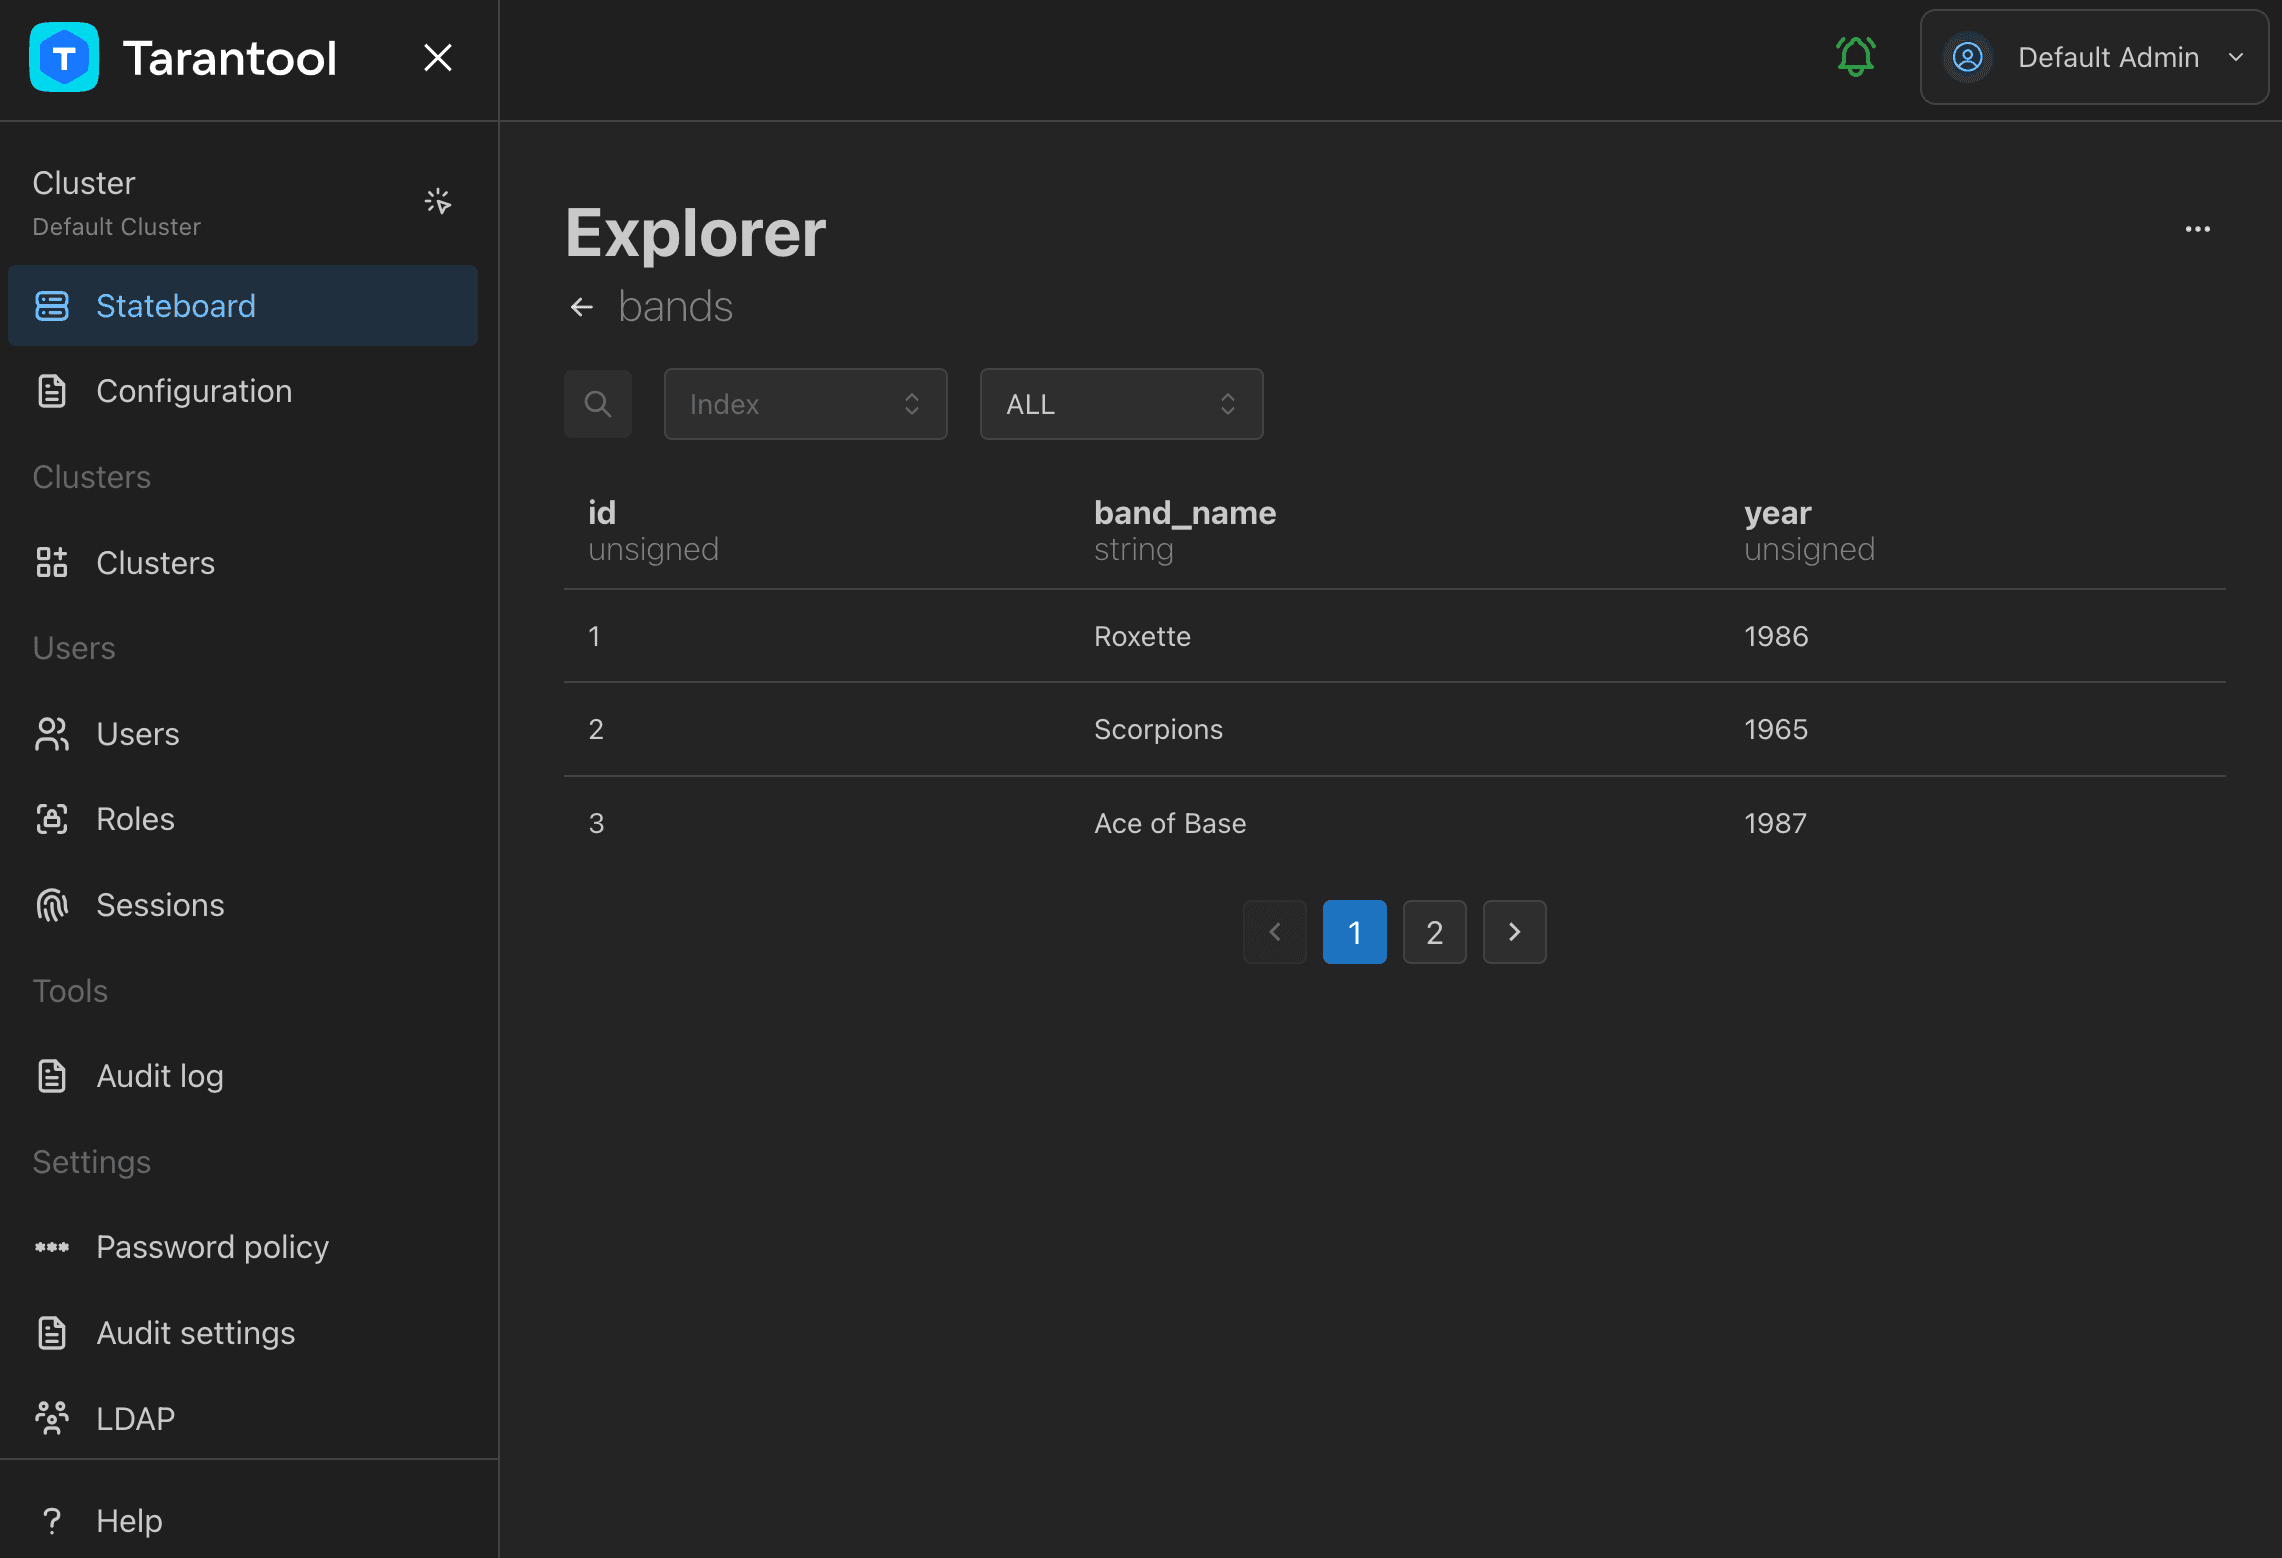
Click View in the Actions menu of the space you want to see. The page shows all the tuples added previously.