First manual deployment
В этом руководстве описано, как впервые быстро развернуть Tarantool Data Grid (TDG) вручную. В результате вы локально развернете кластер TDG с одним узлом.
Note
Чтобы развернуть TDG, вам понадобится ОС Linux (желательно CentOS 7/RHEL 7). Если у вас другая ОС, сначала вам нужно будет создать виртуальную машину с ОС Linux.
Getting a TGZ file for deployment
To deploy Tarantool Data Grid, you need an RPM (.rpm), TGZ (tar.gz), or Docker image (docker-image.tar.gz) file. For the first deployment, a TGZ file will do just fine. It is easier to deploy and does not require root access.
Download a TGZ file of the latest version at the customer zone of tarantool.io. Make sure your browser did not unarchive the downloaded file: the file extension should be tar.gz.
If you do not have access to the customer zone, you can get one by applying this form or writing to sales@tarantool.io.
Deployment
Unpack
tar.gzfile:$ tar xzf tdg-<VERSION>.tar.gz # change <VERSION> for the TDG version that you've downloaded
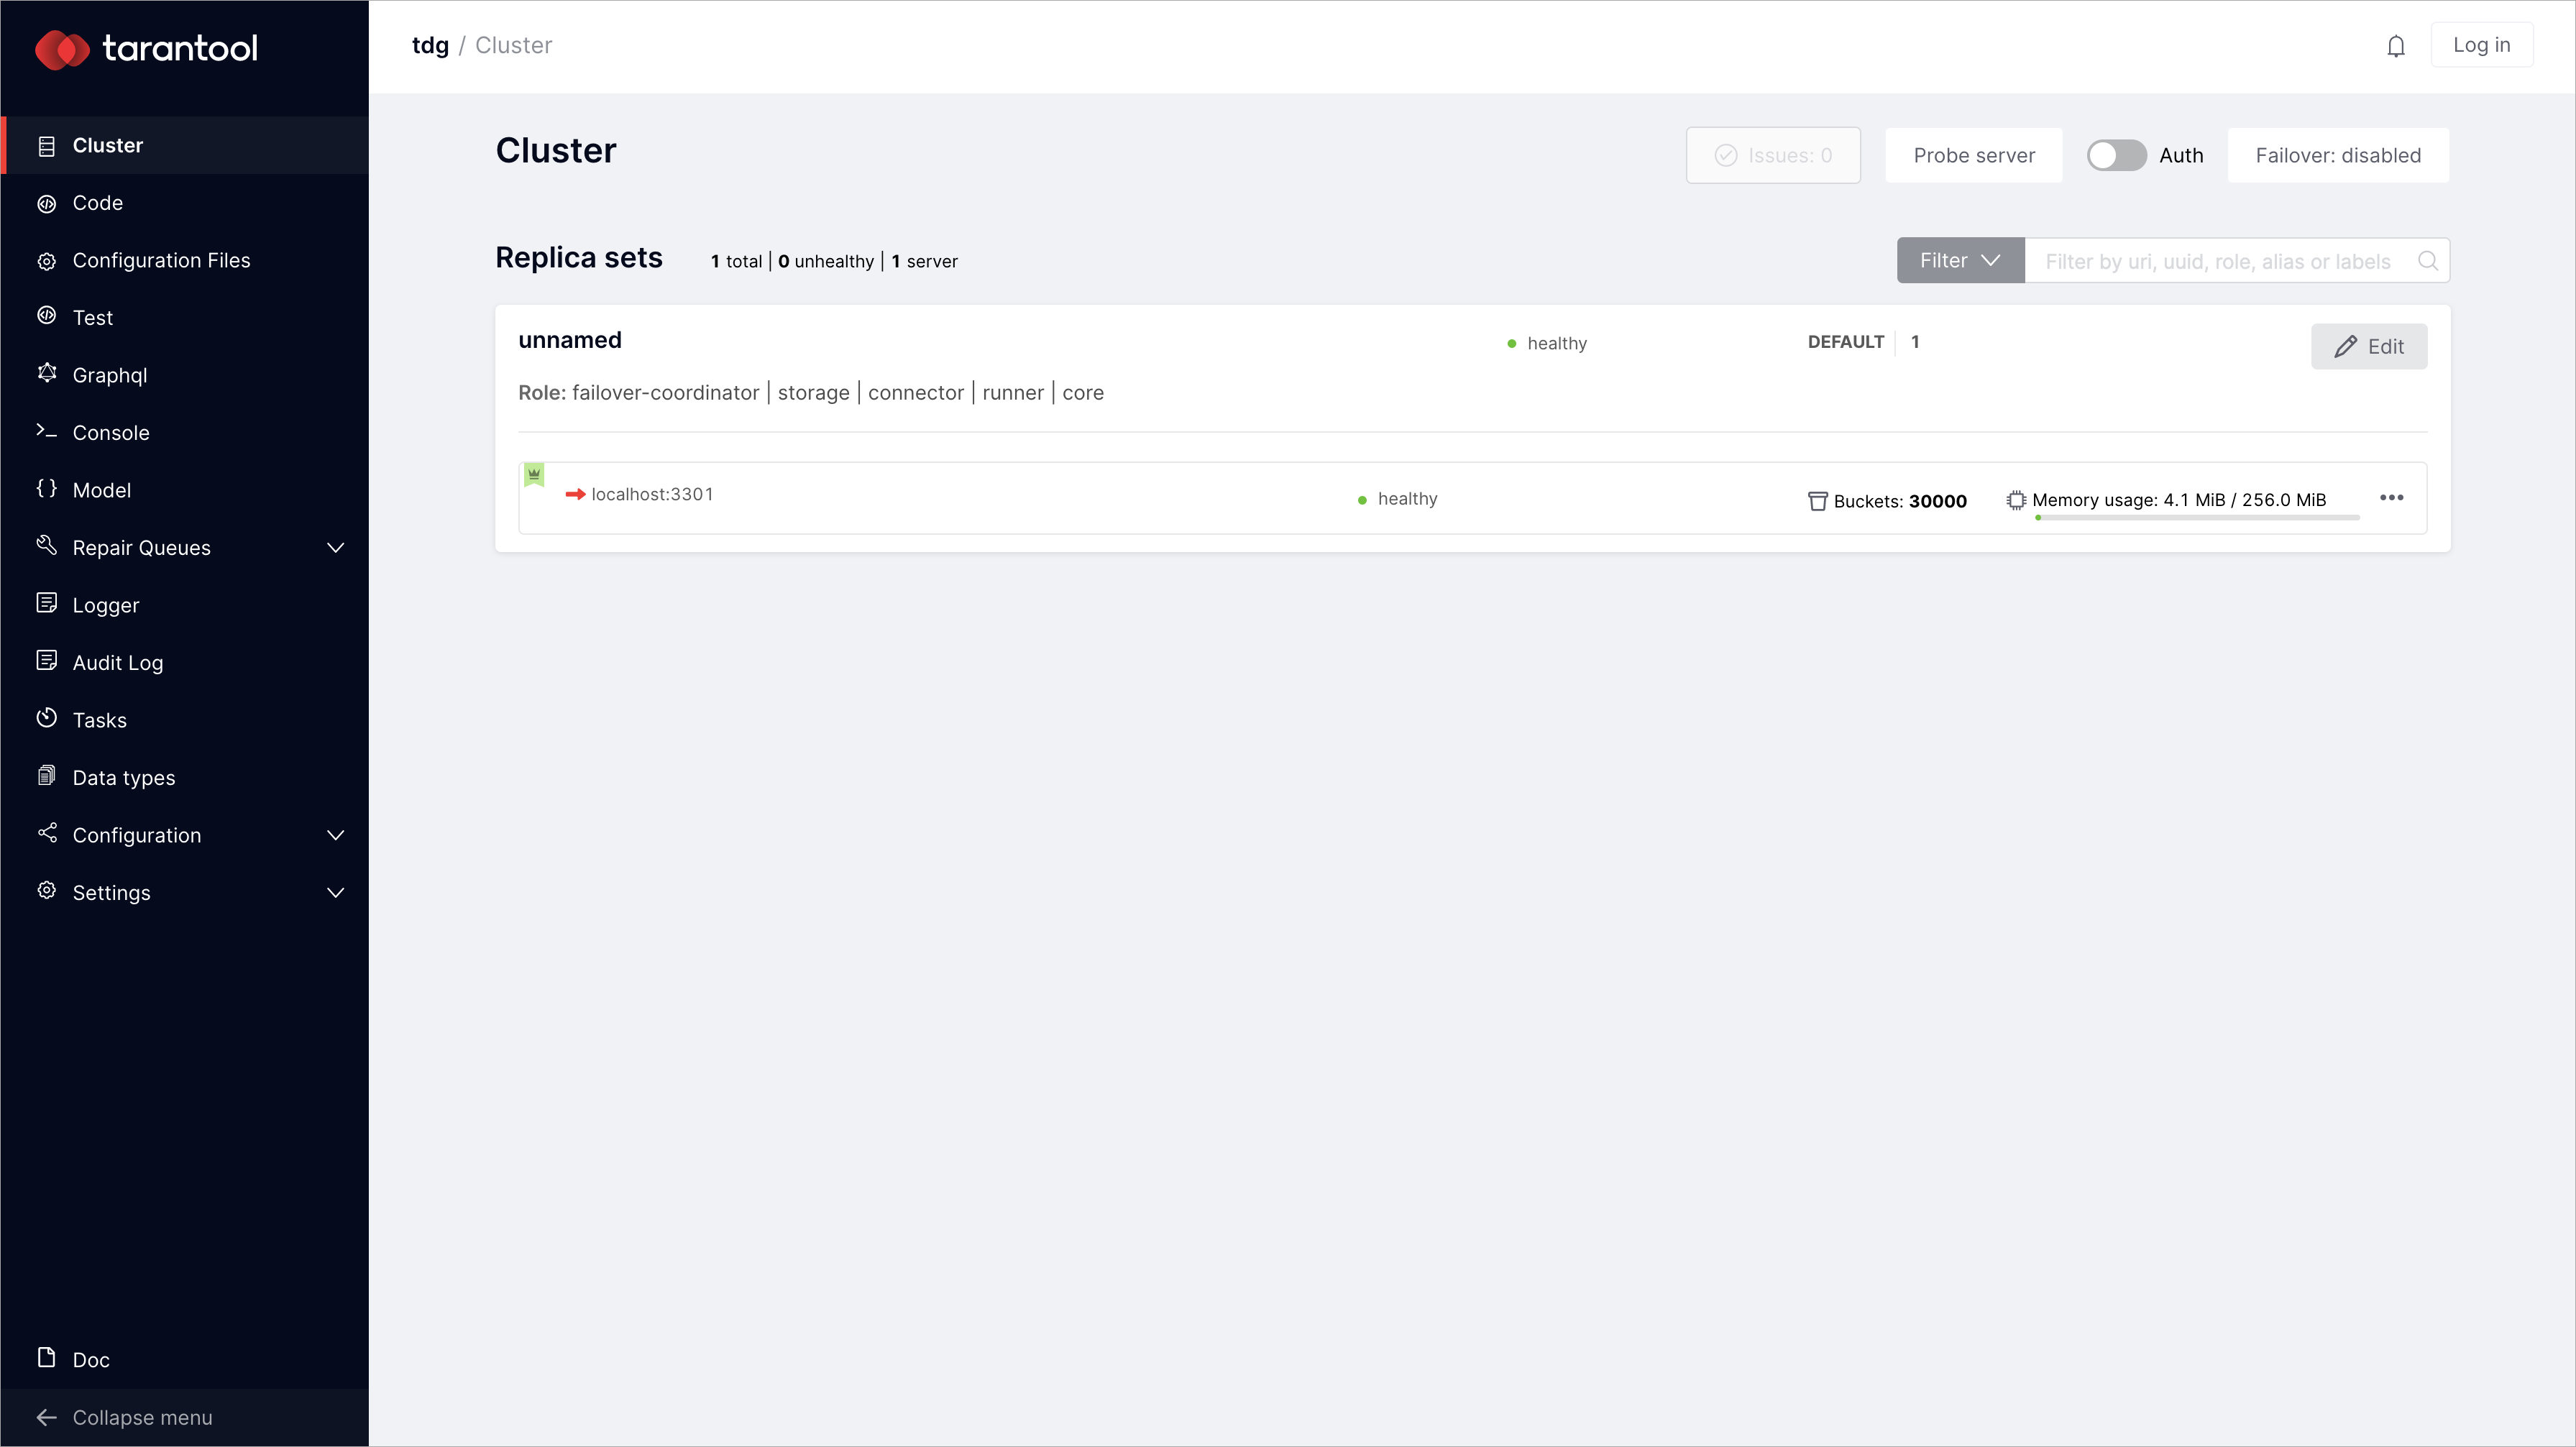
Запустите кластер TDG с одним узлом внутри распакованного архива
tar.gz:$ ./tarantool ./init.lua --bootstrap true
Если у вас уже установлен Tarantool, убедитесь, что для развертывания TDG вы используете ту версию Tarantool, которая была упакована в только что скачанный архив
tar.gz.Перейдите на http://127.0.0.1:8080/, чтобы проверить развернутый кластер TDG:
By running
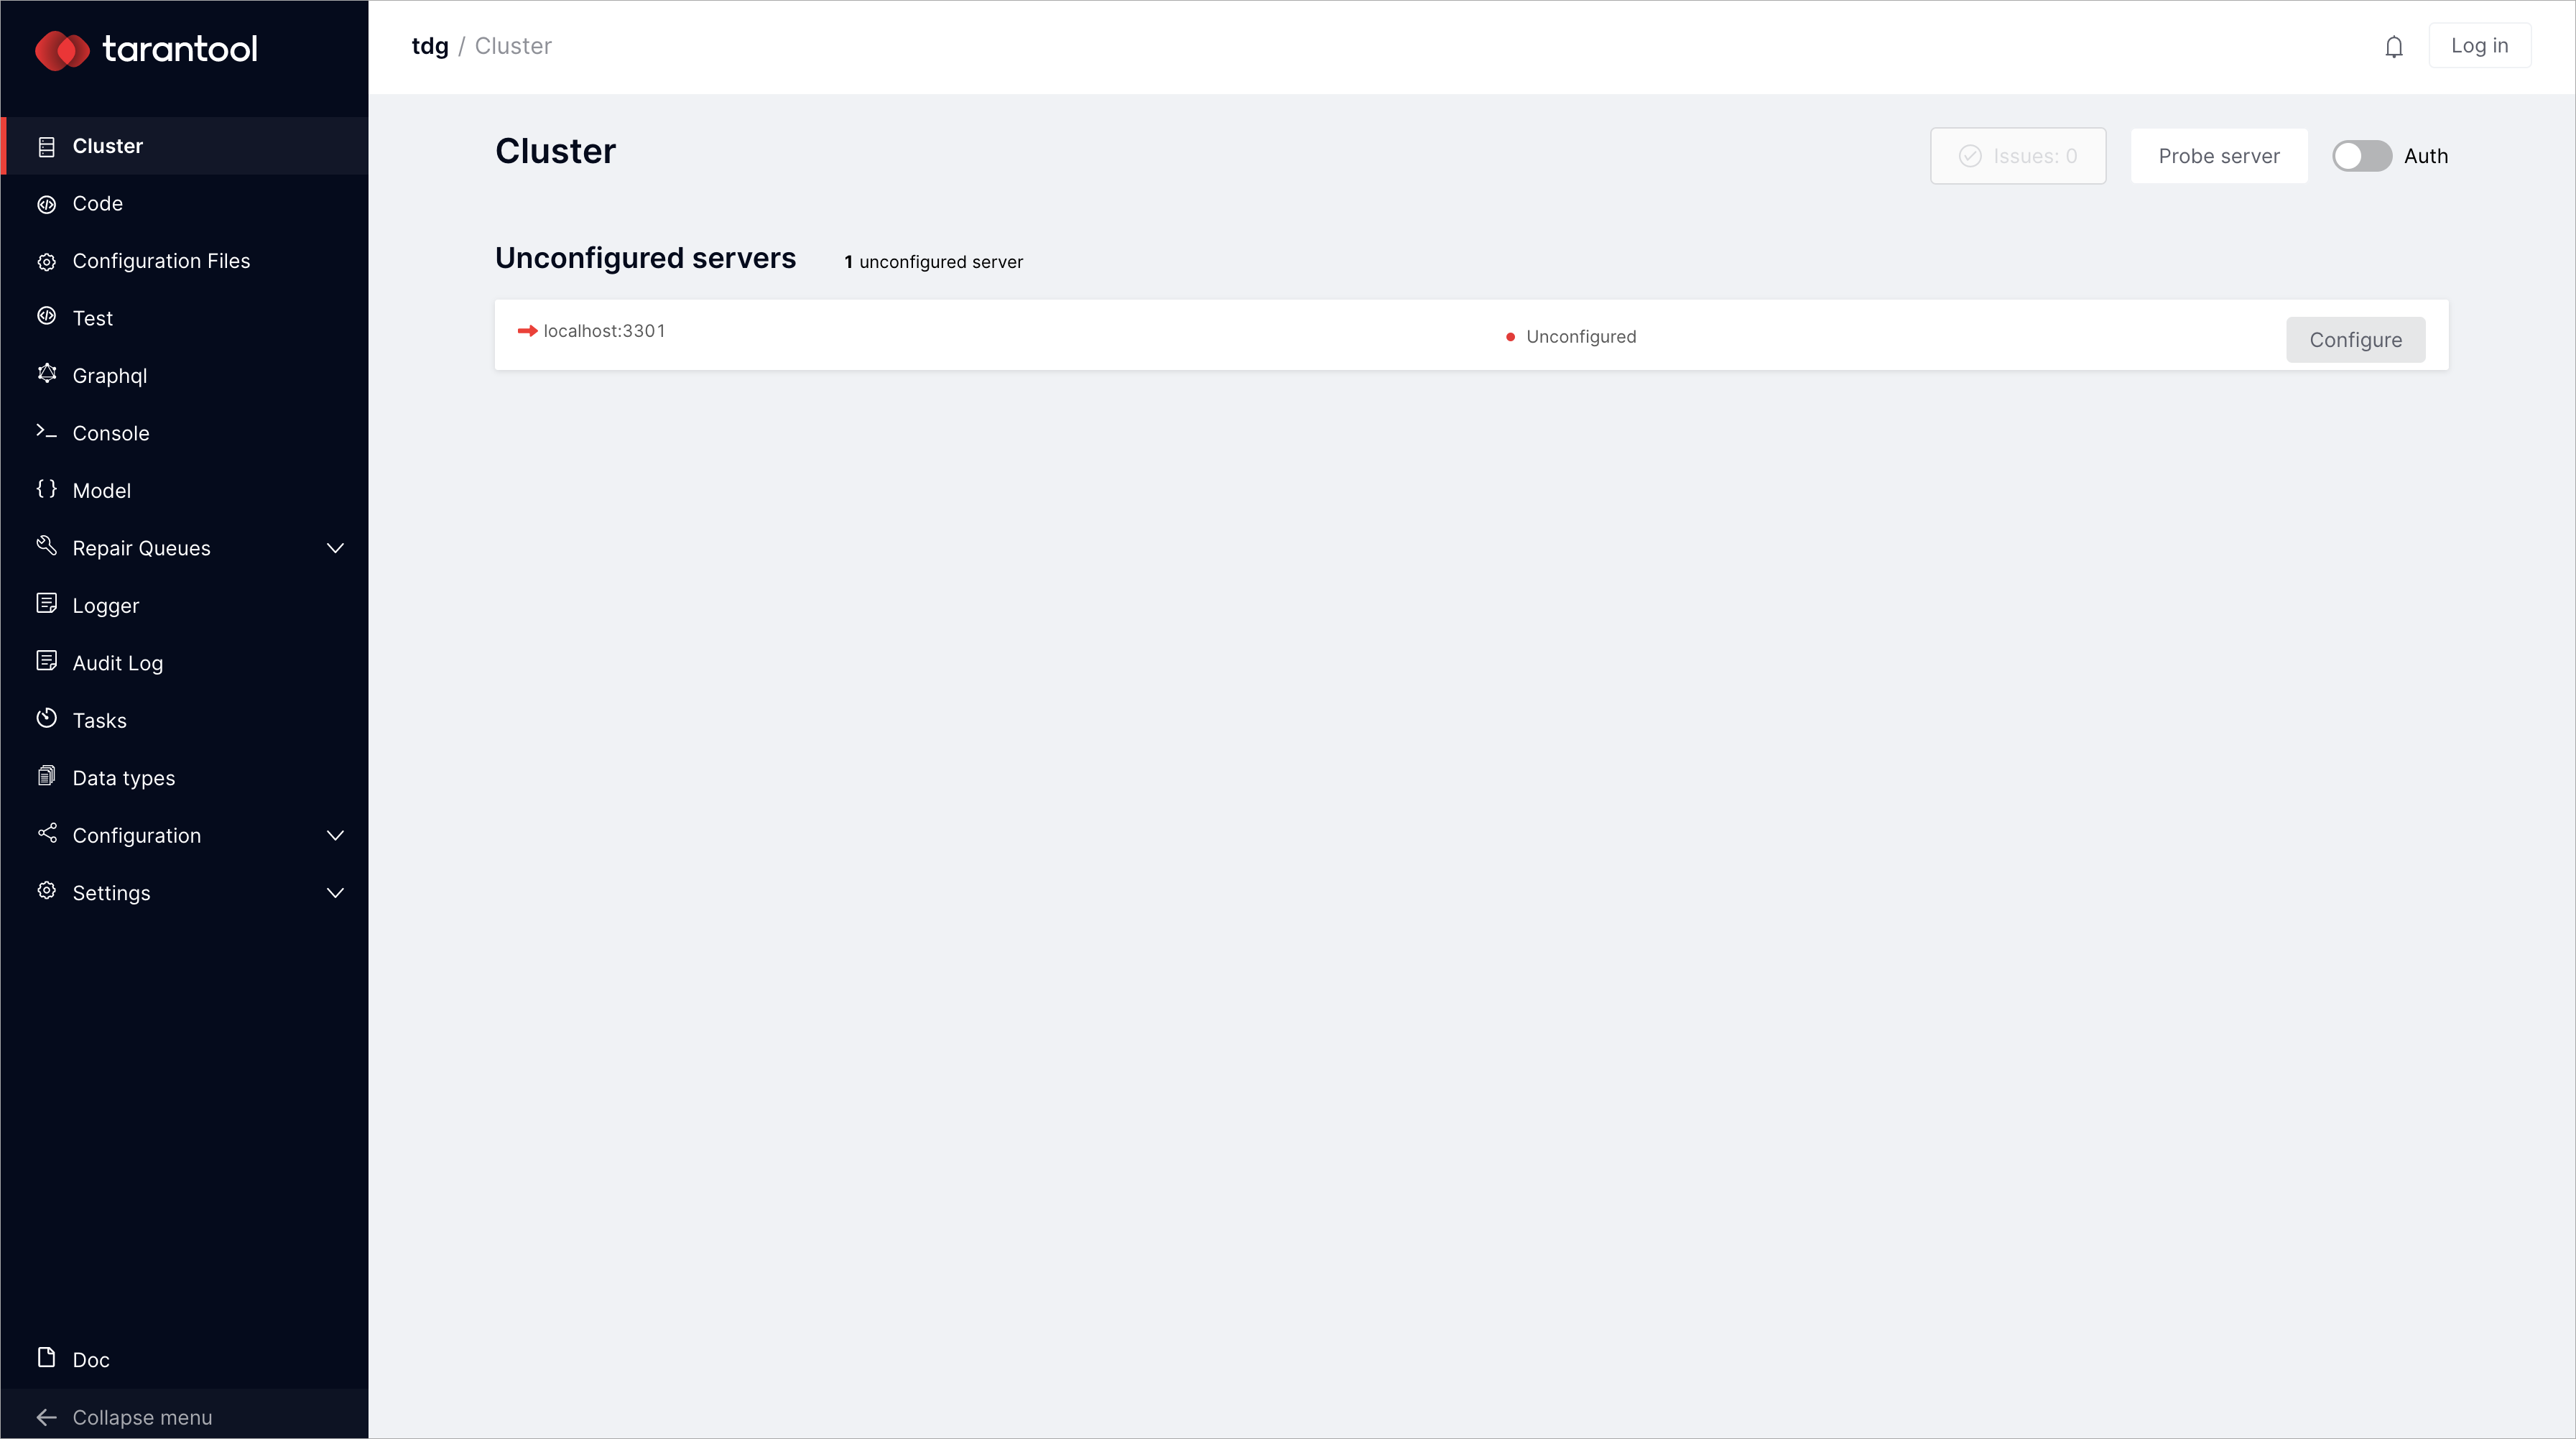
tarantool ./init.lua --bootstrap true, you’ve deployed a configured instance with assigned roles. If you want to try and assign roles by yourself, run:$ tarantool ./init.lua
В результате у вас будет экземпляр TDG в исходном состоянии:
Если вы хотите заново развернуть TDG с нуля, не забудьте сначала удалить файлы конфигурации, а также xlog- и snap-файлы, которые были созданы при первом развертывании TDG:
$ rm -rf ./dev/output